You can wallpaper textured walls—it just takes prep work first. Identify whether your texture’s painted or unpainted, then light or heavy. For unpainted textures, spray and scrape them down. For painted ones, apply skim coats to smooth everything out. Once your walls are prepped and primed, choose Peel & Stick vinyl or Paste-the-Wall wallpaper. Hang it straight using a vertical guide, smooth it with a felt tool, and fix any bubbles. Follow the specific steps below for a manageable installation process.
Can You Actually Wallpaper Textured Walls?
Yes, you can wallpaper textured walls, but the key point is—it really depends on what kind of texture you’re dealing with. Light, bumpy textures? You’re in good shape. Heavy popcorn ceilings or rough finishes? That’s trickier, and you might need to smooth things out first.
Many people successfully wallpaper over texture every day. Your best bet is choosing the right wallpaper style for your walls. Peel & stick vinyl conforms nicely to mild textures, while paste-the-wall options hide imperfections better.
Before you start, clean your walls thoroughly and fill any cracks. For heavier textures, consider bridging or light skim coating to create a smoother base. Follow your wallpaper manufacturer’s priming guidelines carefully. With proper prep work, you can complete this project successfully.
Identify Your Texture Type: Painted, Unpainted, Light, or Heavy
Before you grab your wallpaper and paste, you’ll want to figure out exactly what you’re working with—is your texture painted or unpainted, and is it light or heavy? Painted textures are tougher to prep because they don’t soak up water as easily, while unpainted ones are usually more forgiving. Knowing which category your walls fall into will determine how much work you need to do and what supplies you’ll need to grab.
Painted vs. Unpainted Textures
How can you tell if your textured walls are painted or unpainted? This distinction matters for your wall preparation strategy. Here’s what you need to know:
- Painted textures have a sealed surface that blocks water absorption, making removal methods less effective and requiring skim coats before wallpaper installation
- Unpainted textures are more receptive to water-based removal methods like soaking and scraping, allowing easier smoothing when prepping walls
- Your approach changes based on what you find—painted walls demand different preparation than unpainted ones
To identify yours, try spraying water on a small area. If it beads up, you’ve got paint. If it absorbs, you’re working with unpainted texture. Knowing this difference helps you select the right preparation method and avoid complications down the line.
Light and Heavy Variations
Once you’ve figured out whether your texture is painted or unpainted, the next move is identifying how thick and bumpy it actually is—and that matters more than you might think.
Light textures like orange peel or light knockdown are straightforward. You’re looking at a relatively smooth surface that most wallpapers can handle with basic prep: cleaning, filling gaps, and priming. These textured walls won’t fight you too hard.
Heavy textures like popcorn? They’re trickier. All those bumps create valleys that can show through your wallpaper—something pros call telegraphing. You’ll likely need bridging materials or skim coats to smooth things out first.
The texture thickness determines your whole approach. Light means simple. Heavy means additional steps. Neither’s impossible; you’re just choosing your path forward.
Choose Your Prep Path Based on Texture Type
Why does texture type matter so much? Your wall’s texture determines which prep path you’ll take, and choosing wisely saves you time and frustration.
Here’s how you’ll prepare based on what you’re working with:
- Mild textures (orange peel, knockdown)—these forgive imperfections, so Peel & Stick or Paste-the-Wall wallpaper works well with basic prep like cleaning and smoothing rough spots.
- Heavy textures (popcorn)—you’ll need bridging material or skim coating to create a smooth base. It’s extra work, but the results are worth the effort.
- Painted or deeply indented textures—consider hiring a professional for skimming. Follow product timing guidelines between coats before hanging.
Match your wallpaper type to your texture. The right approach makes the difference.
Remove Unpainted Texture With the Soak-and-Scrape Method
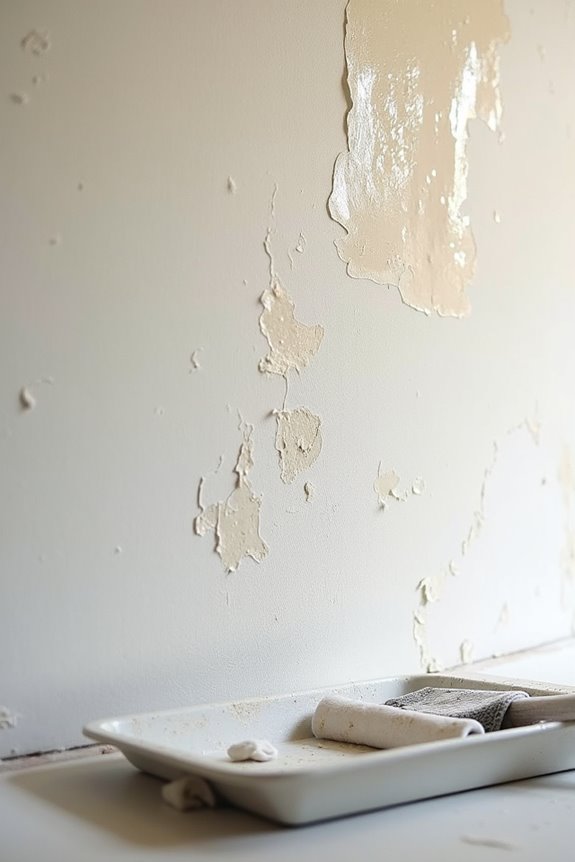
If you’ve got unpainted texture on your walls, you’re actually in luck—this type comes off way easier than painted stuff. The soak-and-scrape method is your go-to approach.
Here’s what you’ll do:
- Protect your floors with canvas tarps (plastic gets slippery and dangerous).
- Spray water lightly using a pump sprayer to loosen the texture.
- Wait 10–15 minutes, then test how loose it’s become.
- Respray as needed to reduce scraping resistance.
- Start at the ceiling line with a 10″–12″ taping knife, scraping downward.
This process gets messy, so wear eye protection and protective clothing. You’ll save money compared to hiring professionals, though you’ll do the heavy lifting yourself. Once you’re done scraping, you’ll fill holes and prime before wallpapering.
Apply a Skim Coat for Painted Textured Walls
If you’ve painted over your textured walls, skim coating will help because that paint layer blocks water from soaking in and stops wallpaper adhesive from sticking properly. You’ll spread a smooth layer of joint compound across the entire surface using a 10″–12″ taping knife, then wait for it to dry completely before sanding it smooth. Most walls need two coats with 24–48 hours between each one, giving you time to work on other projects while you wait.
What Is Skim Coating
When you’re staring at bumpy textured walls and dreaming of smooth, wallpaper-ready surfaces, skim coating might be your answer—but here’s the catch: it only works on unpainted textures. Skim coating involves spreading a thin layer of joint compound across your entire textured surface using a 10-12 inch taping knife, creating that smooth finish you’re after.
Here’s what makes it work:
- The compound soaks into unpainted texture evenly, creating uniform coverage
- Multiple coats build up smoothness without gouging the surface
- Light sanding between coats keeps everything level and ready
You’ll wait 24-48 hours between coats, then sand gently. Remove baseboards first, and always wear eye protection. For deep textures or heavy damage, calling a professional saves you frustration and time.
Application Process Steps
How do you prepare a bumpy painted wall for wallpaper? You’ll apply a skim coat using a 10″–12″ taping knife across the entire wall. Work in sections, spreading the joint compound evenly to fill texture and create uniformity. Once dry per the compound’s instructions, lightly sand ridges away for a smooth finish.
| Step | Action | Time | Purpose |
|---|---|---|---|
| 1 | Apply skim coat | Active work | Fill texture |
| 2 | Let dry completely | Per instructions | Allow hardening |
| 3 | Sand lightly | 1-2 hours | Remove ridges |
| 4 | Prime wall | Before wallpapering | Improve adhesion |
After sanding, prime your skimmed wall with compatible primer. This step hides remaining irregularities and improves wallpaper adhesion. Wait the recommended dry time before hanging wallpaper, maintaining a dust-free, dry surface. You’re establishing the proper foundation for wallpapering.
Use Bridging Material for Heavy Damage
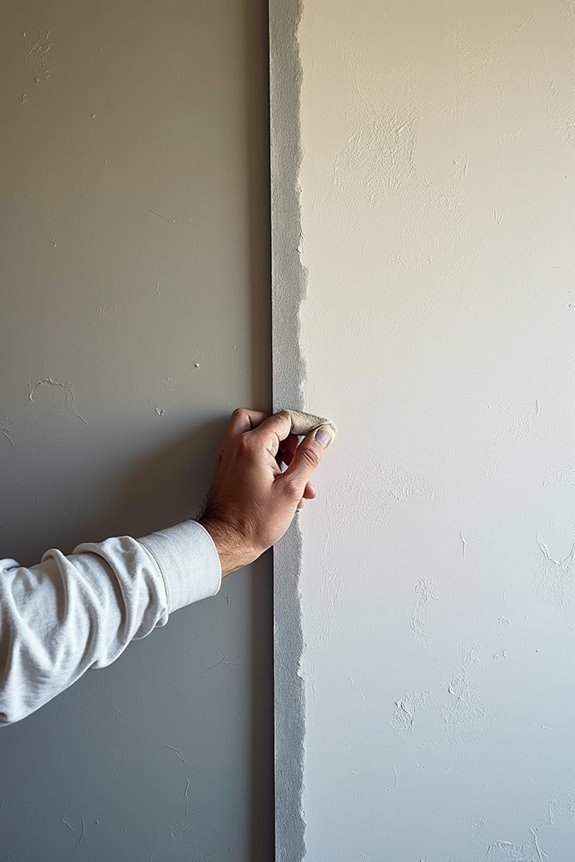
Bridging material is a practical tool for walls with significant damage—it fills bumps and dips without requiring you to scrape away existing texture. This material addresses heavy damage and deep indentations that would otherwise be visible through wallpaper.
Bridging material fills wall damage and deep indentations without scraping, keeping imperfections hidden under wallpaper.
Here’s what you need to know:
- Sand first with 200-grit sandpaper, then clean with TSP to remove dust and grime
- Apply bridging material carefully—professionals handle this to keep seams invisible after hanging
- Wait at least 24 hours before priming so everything dries completely
For your primer choice, consider the wall’s porosity. Non-porous surfaces need ROMAN PRO-935, while porous textures work better with ROMAN PRO-999 Rx-35.
Clean, Sand, and Prime Your Prepared Surface
Once you’ve handled the heavy damage with bridging material and let it dry, your walls are ready for the finishing touches that’ll make wallpaper stick around.
Start by cleaning your textured walls with soap and water, then rinse thoroughly and let them dry completely. Next, sand the wall to create a smoother surface, focusing on those high ridges without stripping away all the texture—you’re looking for better adhesion, not a marble finish.
Fill any remaining holes and cracks with joint compound, then sand those patches smooth. Your preparation work isn’t done yet: prime your surfaces according to your wallpaper manufacturer’s instructions, especially on glossy or super porous finishes. Make sure everything’s completely dry before you hang anything. These steps will help your wallpaper bond properly.
Select Peel & Stick Vinyl or Paste-the-Wall Wallpaper
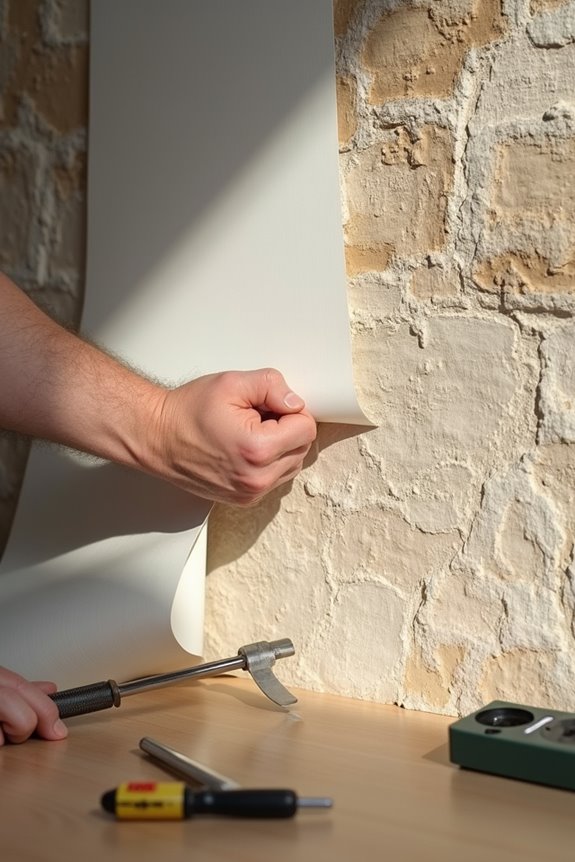
What makes the difference between wallpaper that stays put and wallpaper that peels away in frustration? Your wallpaper choice matters more than you’d think, especially on textured walls.
You’ve got two winning options for your space:
- Peel & Stick Vinyl – This durable, waterproof option grips textured surfaces beautifully while letting you reposition if needed. Perfect if you’re not entirely confident with installation.
- Paste-the-Wall Wallpaper – This creates a long-lasting bond and hides imperfections well, though it demands careful alignment during application.
- Room-Specific Selection – Kitchens and bathrooms need waterproof varieties that resist moisture and daily wear.
Skip regular wallpaper on heavily textured walls unless you’re prepared for extensive prep work. You’ll want adhesion that actually holds, and these options deliver exactly that.
Hang Your Wallpaper Straight and Smooth
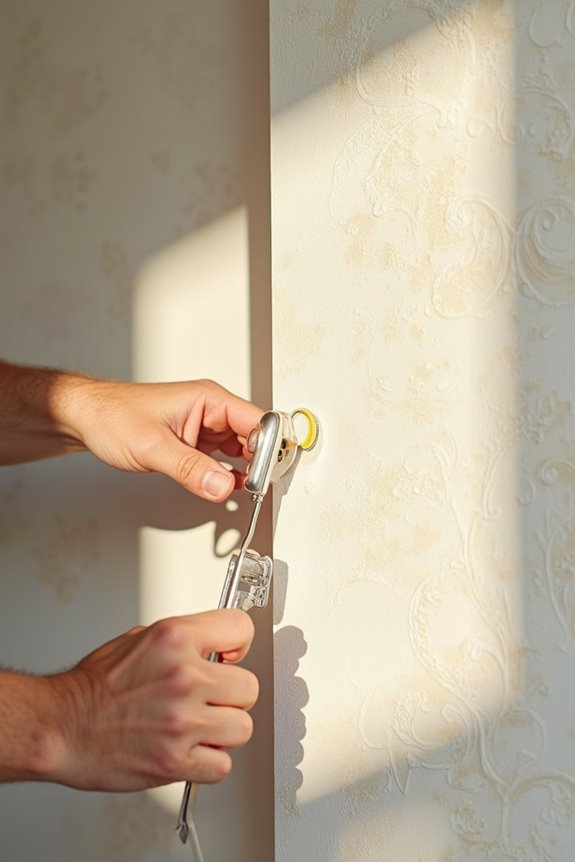
Start by drawing a vertical line with a laser level or straight edge from ceiling to floor—this’ll be your guide so the first panel goes up perfectly plumb and you don’t end up chasing crooked seams across your whole wall. Once you’ve positioned your wallpaper, use a felt smoothing tool to gently press it flat against those textured surfaces, working from the center outward without stretching the material (stretching’s the enemy here). Take your time smoothing out any bubbles or wrinkles, and you’ll have panels that sit tight and straight without the frustration of fighting with the texture.
Vertical Line Alignment
- Use a laser level to create a perfectly straight vertical guide from floor to ceiling—this removes the guesswork from alignment
- Draw a chalk line or plumb line on your wall as a backup guide you can see while working
- Check each panel against your line as you install, whether you’re using peel & stick or paste-the-wall methods
Start near your vertical line and work outward. Keep your level handy and verify alignment frequently. This simple step prevents the frustrating domino effect where one crooked panel throws off your entire wall.
Smoothing Tool Technique
The Smoothing Tool Technique
Start at the center of your wallpaper section, then press outward toward the edges using firm, steady pressure. Work in small areas—about one square foot at a time—so you don’t miss any wrinkles or air bubbles. Your goal is simple: push out imperfections without stretching the material.
Keep consistent pressure throughout. Uneven smoothing creates visible dips and bumps. For textured walls, follow the surface contours gently, letting your tool glide over peaks and valleys. This prevents creases and allows your paper to conform properly to the surface.
Take your time with this step. Rushing means you’ll spend extra hours fixing problems later.
Fix Air Bubbles, Seam Issues, and Adhesion Failures
How do you know when you’ve got a problem worth fixing? You’ll spot wrinkles, lifted edges, or visible air bubbles beneath your wallpaper. Don’t panic—you’re not alone in this.
Here’s what to do:
- Lift and rework: Gently lift the edge nearest the bubble, then smooth it back down to reseal the adhesive properly.
- Resmooth carefully: Use your felt tool to work from the center outward, maintaining even pressure without stretching.
- Check your base: Make sure your wall’s completely dry and dust-free before reapplying, since moisture causes adhesion failures.
For textured walls specifically, work in small sections to prevent bubbles from forming along texture ridges. If you’re still struggling, consider liner paper underneath—it creates a smooth foundation that makes everything easier and more stable.
When to Call a Pro (and What to Expect)
Sometimes DIY fixes aren’t enough, especially when you’re dealing with heavy textures like popcorn or walls with deep, pronounced ridges. That’s when calling a professional makes sense. Pros handle wall preparation differently than you might, using skimming or bridging materials to create a smooth base before hanging anything. Expect their estimate to cover texture removal, primer, and equipment costs, plus 1–3 days per room. Before hiring, ask about their experience with quality products and whether they offer test patches and warranties. They’ll choose between Peel & Stick or Paste-the-Wall options based on your specific texture severity. Getting professional help now saves you from costly mistakes and frustration later.