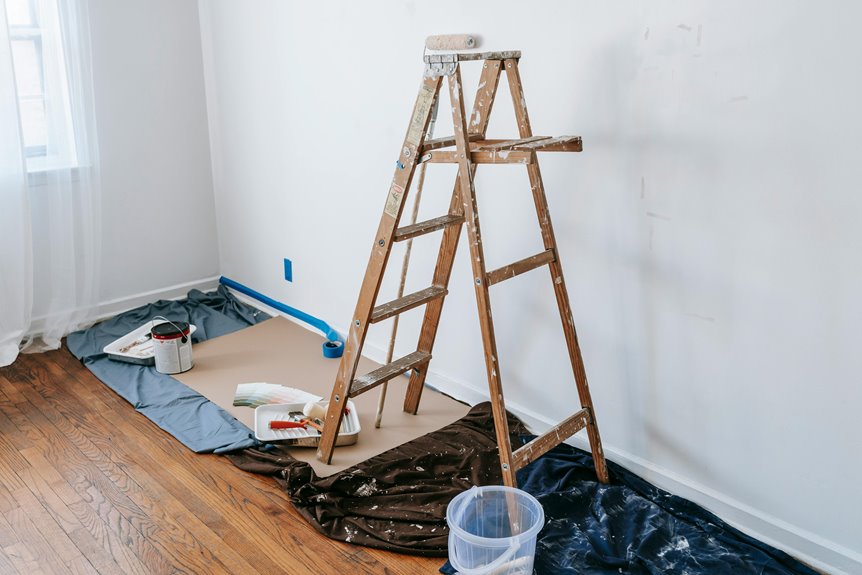
Yes, you need to wash your walls before painting, or you risk peeling, bubbling, and poor adhesion. Dirt, grime, and oil create slippery surfaces that prevent paint from sticking properly. Use warm water with grease-cutting detergent, scrub in circular motions, then rinse thoroughly. Let walls dry completely—this prevents blistering and adhesion problems. Skip this step, and you’ll likely face disappointing results within months. There’s more to know about tackling stubborn stains and getting your walls ready for paint.
Should Walls Be Washed Before Painting?
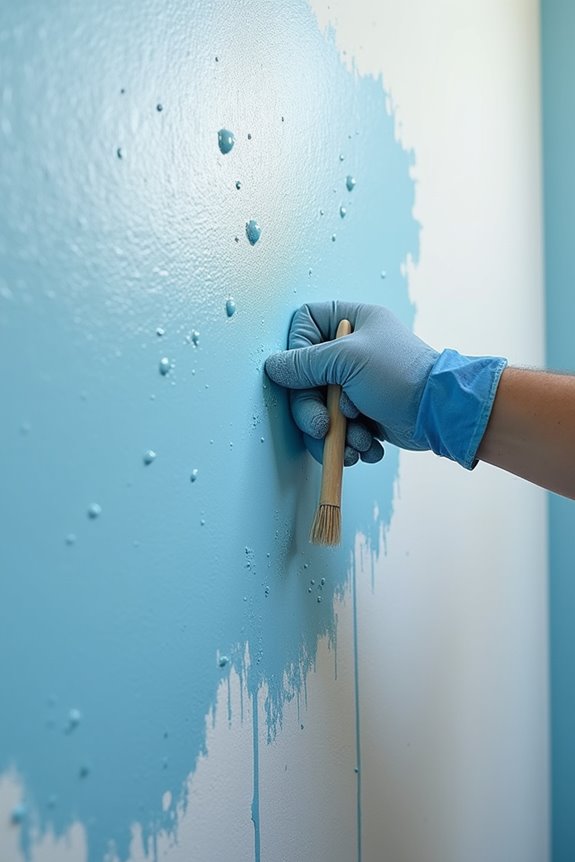
Why would you skip washing your walls before painting? You’d be setting yourself up for failure. Here’s the truth: dirty walls sabotage your paint job. Oil, grime, and dust create a slippery surface that won’t hold paint properly.
Start by grabbing a sponge and warm water. For grimy kitchen walls, add grease-cutting detergent. Scrub gently in circular motions, then rinse with a damp cloth. This simple step removes buildup that’d otherwise wreck your finish.
Whether you’re painting fresh walls or covering old paint, washing applies. Don’t skip it. Once you’ve cleaned, let everything dry completely before applying primer. A dry wall prevents blistering and helps your paint adhere properly. You’re investing time now to protect your results later.
How Dirt and Grime Prevent Paint From Sticking
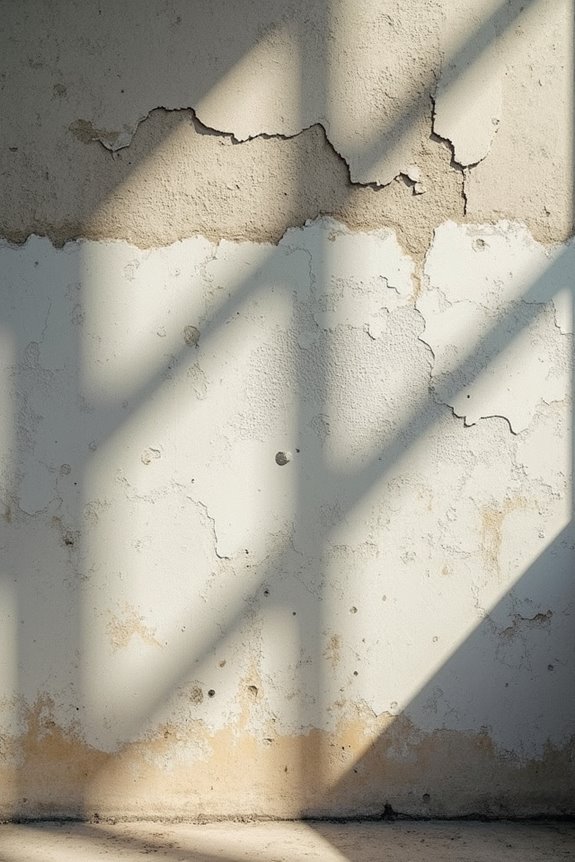
Ever wonder what happens when you slap paint over a dusty wall? You’re basically creating a barrier between your fresh coat and the surface underneath. That dirt and grime? They’re like tiny blockers preventing adhesion from happening properly.
Think of it this way: paint needs direct contact with your wall to stick around. When dust, dirt, and grime sit on the surface, they wedge between the paint and wall material. Your new paint can’t grip properly, so it starts peeling or looking uneven within weeks.
You’ve probably seen this before—paint bubbling or flaking off way too soon. That’s what happens when you skip washing. The solution’s simple: clean those walls first. You’re removing the invisible obstacles that sabotage your painting project. It’s worth the extra effort.
How to Clean Walls Without Damaging the Surface
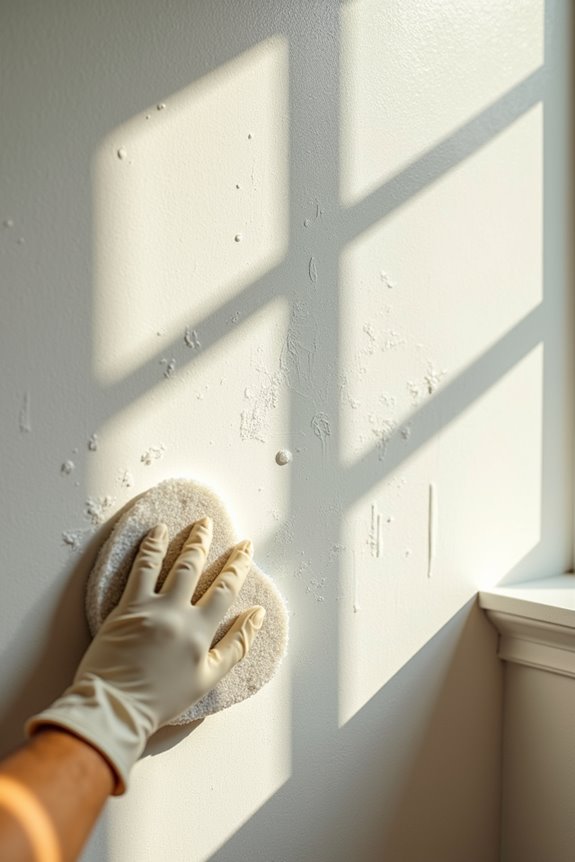
So the thing is: you can’t just scrub your walls like you’re angry at them.
You can’t just scrub your walls like you’re angry at them—use gentle circular motions instead.
When you’re ready to wash your walls, use lukewarm water with mild soap. Rub gently in circular motions—this approach prevents surface damage that rough scrubbing causes. For kitchen areas or oily spots, mix a detergent solution first, then rinse thoroughly.
Got mildew or stubborn stains? Mix three to four parts water with one part bleach. Let it sit briefly, then rinse and dry completely. After washing, wipe everything down with a damp cloth to remove leftover residue.
Here’s what matters: your walls need to be completely dry before painting. Check that trim and walls are free of dirt and moisture. You’re almost ready to paint—just protect your surroundings with drop cloths first.
Removing Mildew and Stubborn Stains Before Painting
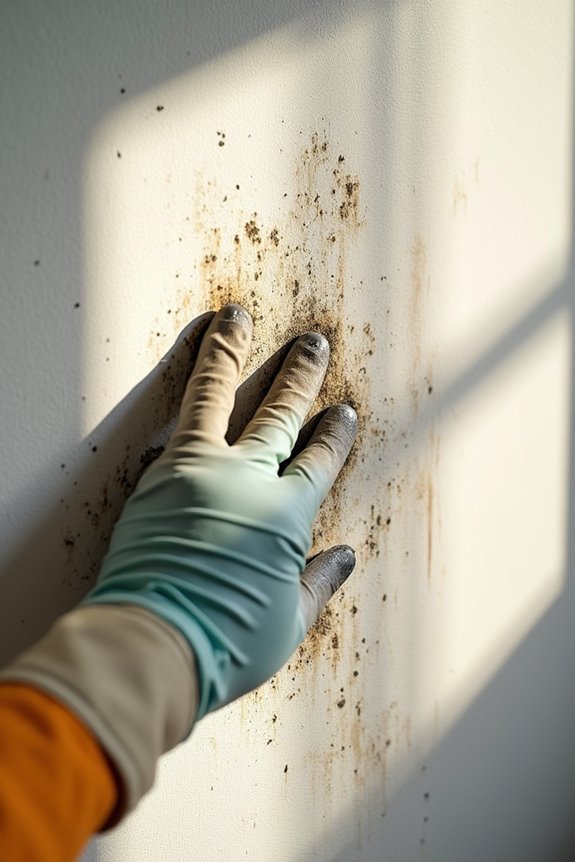
Before you even think about priming or painting, you’ll need to tackle any mildew and stubborn stains that’ll just peek through your fresh coat anyway. Mildew requires its own special treatment—you can’t just paint over it—while greasy kitchen grime needs a grease-cutting detergent to really come clean. Once you’ve handled these problem spots, your walls will be ready for the primer and paint to stick and look good.
Mildew Cleaning Process
How do you know if that dark spot on your wall is mildew you can actually paint over, or if you need to stop and clean it first?
Don’t skip mildew cleaning. Mix three to four parts water with one part bleach in a spray bottle. Spray the affected area and let it sit for a few minutes. Scrub gently with a soft brush—you’re not trying to strip the wall, just remove the mildew. Rinse thoroughly with clean water to wash away residual bleach that’ll otherwise leave white stains.
Dry completely. This step matters. Any moisture trapped beneath your paint causes blistering and ruins your finish. Wear gloves and goggles during the process. If mildew returns after cleaning, repeat the process before painting. Your walls deserve this attention.
Treating Stubborn Stains
What lurks beneath those mystery marks on your wall—is it mildew you’ve already tackled, or something else entirely? Oil stains and stubborn grime require a different approach. You’ll want to wash these problem areas with warm water and a grease-cutting detergent, then rinse thoroughly. Wipe down with a damp cloth to remove any leftover residue. For particularly tough spots that won’t budge, don’t panic—sometimes they just need extra attention. Never skip this step because painting over grime creates poor adhesion. Here’s the important part: let everything dry completely before you prime or paint. Rushing this drying time invites blistering and peeling later. Once your walls are squeaky clean and bone-dry, you’re ready to apply fresh paint.
How Long Walls Need to Dry Before Painting
After you’ve washed your walls, you’ll need to give them plenty of time to dry completely—and I mean completely, not just surface-dry. If you rush into painting while there’s still moisture lurking in those walls, you’re setting yourself up for peeling paint and adhesion problems that’ll make you regret skipping this step. Use a clean, dry cloth to check for any damp spots, and follow your primer or paint label’s drying time guidelines, since humidity and ventilation in your space can affect how long you actually need to wait.
Drying Time Guidelines
Since moisture is the enemy of a fresh paint job, you’ll want to give your freshly washed walls plenty of time to dry completely before you even think about opening that paint can. Your drying time depends on temperature and humidity levels in your space. Higher humidity slows everything down, so be patient. After washing, check every corner and crevice with a clean, dry cloth to confirm no moisture remains. If you used grease-cutting detergent, rinse thoroughly and dry until nothing’s left behind. Don’t rush this step—wet walls cause blistering and peeling later. Most walls need several hours to fully dry, but humid conditions might require overnight waiting. You’re building a solid foundation for a professional-looking finish, and that patience pays off.
Moisture and Paint Adhesion
How does moisture actually ruin your paint job? When you skip proper drying time, trapped moisture prevents your primer from bonding correctly to the wall. You’ll end up with peeling paint, blistering, and uneven topcoats that look unprofessional.
Here’s what you need to do: After washing your walls, wipe them with a damp cloth and let them air dry completely. This takes several hours depending on humidity and temperature. Don’t rush this step—residual moisture interferes with adhesion, compromising your entire paint job.
For porous or absorbent surfaces, allow extra drying time. Touch the wall with your hand. If it feels damp, extend the drying period before priming. Taking time now prevents frustrating problems later and keeps your walls looking good for years to come.
Primer and Paint Application for Clean Walls
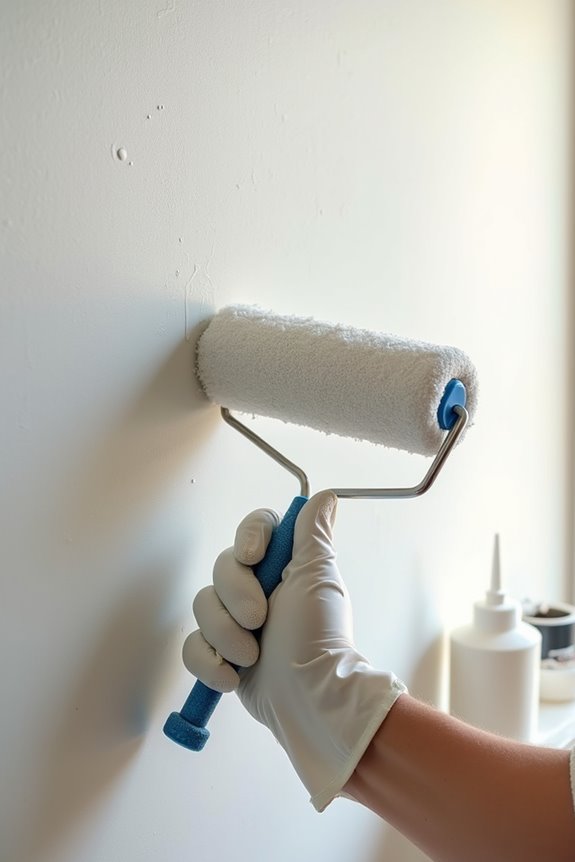
Once your walls are clean and dry, it’s time to think about primer—and whether you actually need it. Primers improve adhesion and hide imperfections, creating a smooth foundation for your top coat. Here’s when you’ll want to use primer:
- Porous or stained surfaces – Primer seals these problem areas and prevents bleed-through
- Drastic color changes – You’ll need primer as your initial coat for better coverage
- Patch work – Primed patches allow for even paint application across your walls
If you’re making minimal color changes, you might skip primer altogether. Benjamin Moore’s Fresh Start line works well for interior priming with strong holdout. After priming, you’re ready to apply your chosen paint color and finish. This approach produces professional-looking results.