
Building a basement requires seven key steps: plan your space and get permits, excavate and pour your foundation, install drainage and waterproofing, frame walls and add insulation, run electrical, plumbing, and HVAC, finish with drywall and flooring, and secure final inspections. You’ll need realistic budgets, code compliance, and ongoing maintenance like monthly sump pump checks. Each phase builds on the last, so rushing creates costly problems later. The details matter—from grading your yard away from the foundation to vapor barriers that prevent mold. Understanding what makes each step necessary will guide you through the process.
Step 1: Plan Your Basement Project and Secure Permits
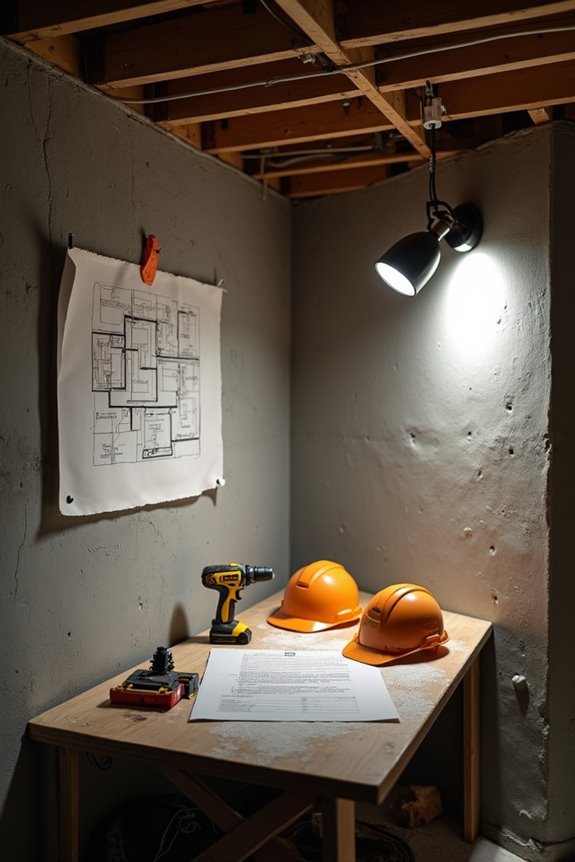
Before you break ground or call the excavator, you’ll want to spend some time planning—and yes, getting permits. Start by defining your basement plan: What’s the layout? How big is it? Will it be a rec room, bedroom, or storage space?
Next, establish a realistic budget and blueprint. Don’t forget to factor in a contingency for surprises—they happen.
Here’s an important part: secure permits approval before any excavation planning begins. Contact your local building department early. They’ll guide you through code compliance requirements, structural integrity standards, and egress needs.
Meeting these requirements upfront protects you and your investment. Working with professionals ensures your design aligns with local codes. Understanding the permit timeline helps you stay on schedule.
Getting this step right makes everything that follows smoother.
Step 2: Excavate and Build Your Foundation
Step 2: Excavate and Build Your Foundation
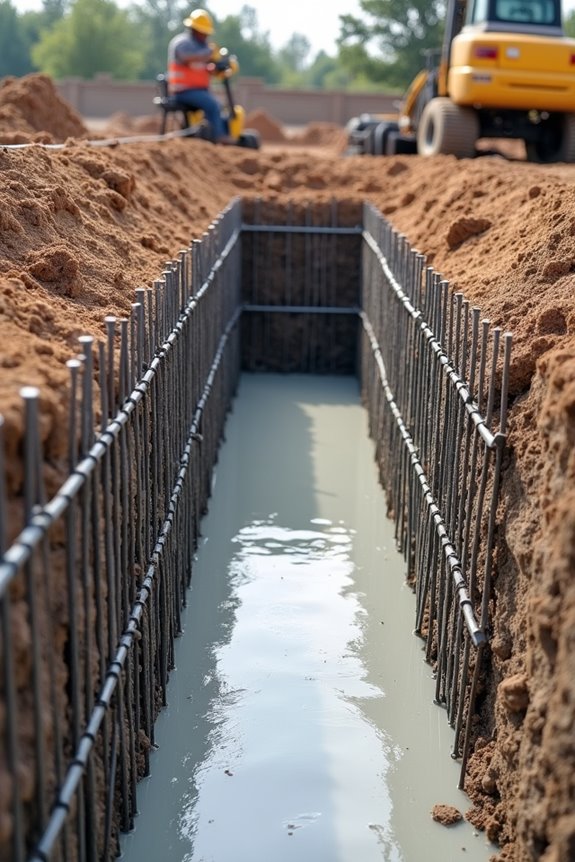
With your permits in hand and your plans approved, it’s time to get your hands dirty—or rather, time to call in the pros with the heavy equipment. This step creates a solid base for everything above.
With permits approved and plans in hand, it’s time to call in the heavy equipment and build your home’s solid foundation.
Here’s what happens during excavation and foundation building:
- Excavate to the precise depth and size, accounting for soil conditions and maintaining stable support
- Pour concrete footings that will bear your home’s entire weight effectively
- Build foundation walls using concrete blocks with rebar reinforcement around the perimeter
- Install drainage systems and waterproofing—including drain tiles and exterior coatings to keep moisture out
You’ll also need temporary supports during construction. This phase takes weeks, but you’re building the backbone of your basement.
Step 3: Install Drainage, Waterproofing, and Floor Slab
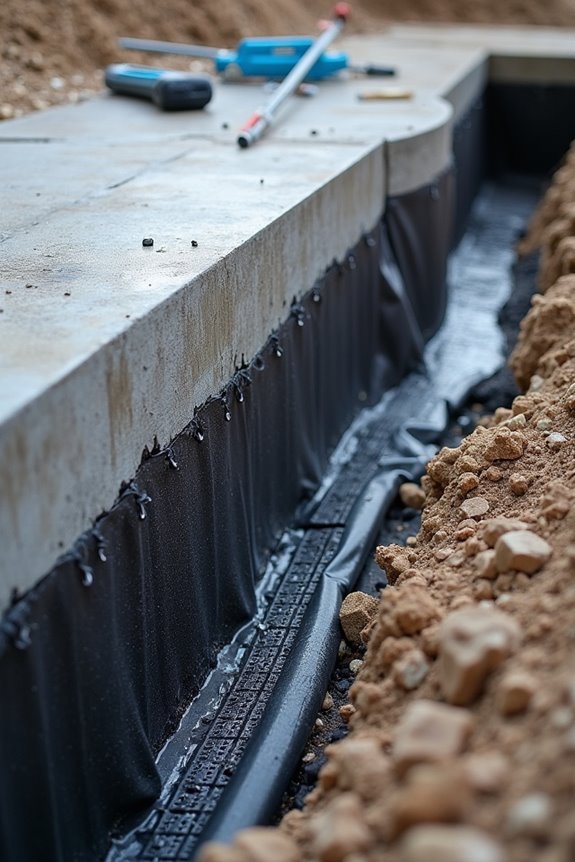
Now that you’ve got your foundation walls up, you’ll want to protect your basement from moisture—which means installing drainage systems like French drains or drain tile to channel water away from your foundation. You’ll also apply waterproof coatings or membranes to those exterior walls, creating a barrier against ground moisture that would otherwise seep in. Finally, you’ll install a moisture-controlled floor slab with a vapor barrier underneath, then level it properly so you have a solid, stable base ready for the next phase of construction.
Drainage and Waterproofing Systems
Why do basements flood? Water naturally seeks the lowest point—and that’s your basement. You’ll need a multi-layered defense system to keep it dry.
Start with exterior drainage by grading your yard away from the foundation. This simple slope directs water away before it causes problems. Next, extend your downspouts at least 15 feet out, preventing water from pooling near your home.
Inside, you’ve got three critical moves:
- Seal interior basement walls cracks with hydraulic cement
- Apply two coats of waterproof masonry cement for extra protection
- Install a sub-slab vapor barrier to block ground moisture
- Add a sump pump with battery backup for active moisture control
Test your sump pump regularly. You’re building a fortress against water intrusion, one layer at a time.
Floor Slab Installation Process
Your waterproofing defense system is in place, and now you’re ready to pour the actual floor that’ll support everything in your basement. You’ll start by laying a vapor barrier over your prepared subgrade, which stops moisture from creeping up into your concrete. Next, you’ll install drain tile to channel water away from your slab and foundation—think of it as giving groundwater an escape route.
| Step | Action |
|---|---|
| 1 | Place vapor barrier on subgrade |
| 2 | Install drain tile system |
| 3 | Position reinforcing materials |
| 4 | Pour concrete |
| 5 | Finish and cure slab |
Your moisture control measures continue with a moisture barrier beneath the slab. As you coordinate concrete finishing and slab curing, you’ll create a level concrete surface that remains crack-free and ready for whatever you build on top.
Step 4: Frame Walls, Ceilings, and Add Insulation
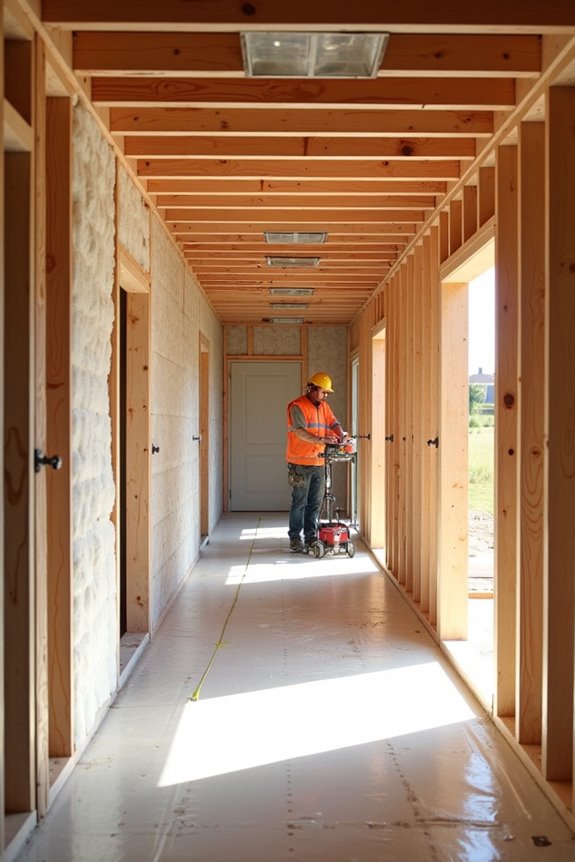
Once you’ve prepped your foundation and tackled waterproofing, it’s time to actually build something you can see—and that’s where framing comes in. You’re creating the skeleton of your basement space, and the process is straightforward.
Start with 2×4 framing lumber for your wall studs, spacing them 16 inches apart. Snap chalk lines for partition walls, leaving 2.5 inches extra for fitting. Here’s what comes next:
Start with 2×4 framing lumber spaced 16 inches apart, snap chalk lines for partitions, and leave 2.5 inches extra for fitting.
- Install insulation using closed-cell spray foam or rigid foam boards
- Add a vapor barrier to control moisture and protect your walls
- Install ceiling joists for routing lighting and HVAC ducts
- Plan access around beams, posts, and pipes with decorative covers
You’re building the bones of your finished basement with a clear process to follow.
Step 5: Run Electrical, Plumbing, and HVAC Systems
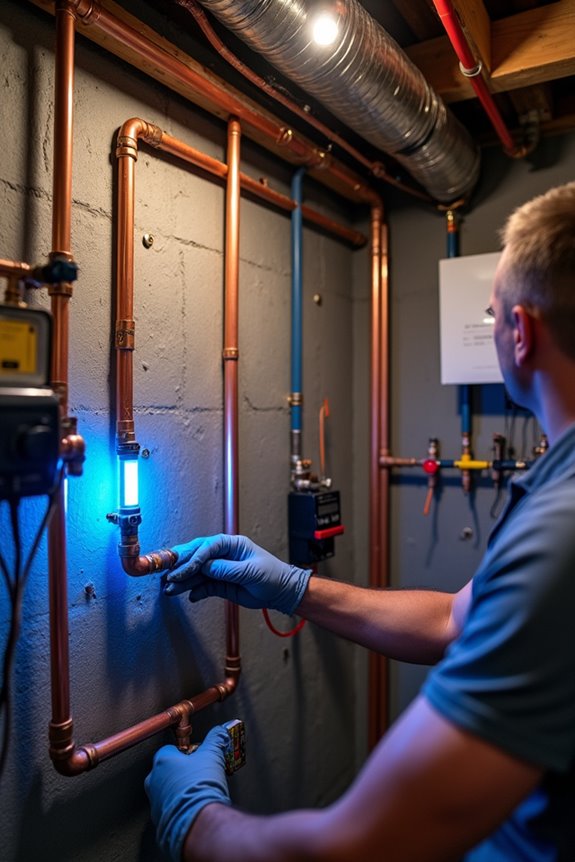
Now that your walls are framed and insulated, it’s time to get the systems running—and we mean literally. You’ll install electrical wiring, plumbing, and HVAC systems before closing walls. This timing matters because you need access for future maintenance.
Here’s what licensed professionals tackle in your basement rough-ins:
| System | Key Tasks |
|---|---|
| Electrical | Outlets, circuits, lighting in planned zones |
| Plumbing | New lines, venting, proper drainage slope |
| HVAC | Correct sizing, duct routing, balanced airflow |
| All Systems | Code compliance, secure installation, clearances |
You’ll want inspections at each milestone. They verify everything meets code and prevent costly rework later. Licensed professionals handle these jobs—don’t skip that step. Proper installation now means your basement runs smoothly for years, and maintenance stays manageable.
Step 6: Finish Your Basement With Drywall, Flooring, and Paint
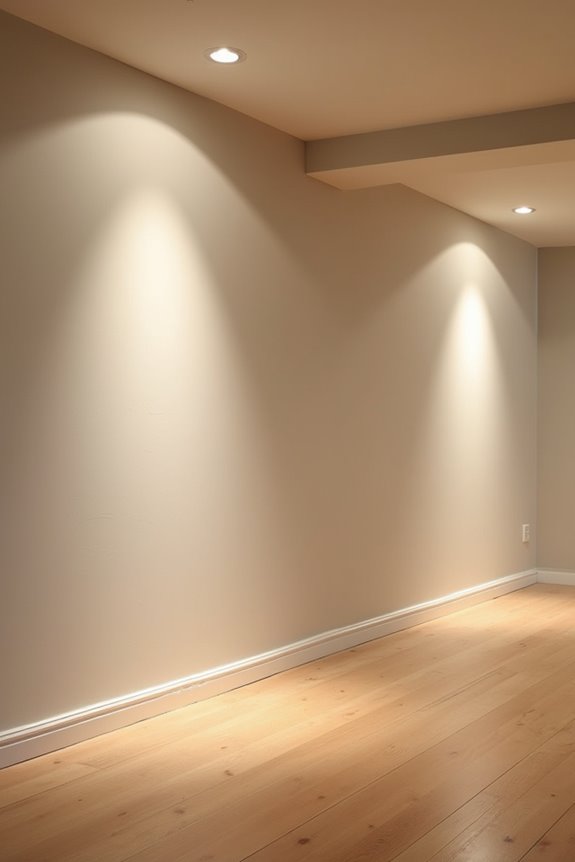
Ready to build out those bare studs into functional rooms? Step 6 is where your basement becomes livable. You’ll install moisture-resistant drywall horizontally, then tape, mud, and prime it—creating smooth walls that’ll last.
Before you start, verify all plumbing and electrical rough-ins are complete. You’ll need access later for maintenance and repairs.
Next, consider your flooring options:
- Vinyl plank (budget-friendly, waterproof)
- Tile (durable, moisture-proof)
- Engineered wood (warm feel, moisture-resistant)
- Concrete with self-leveling compound (if uneven)
Check concrete floors first—anything beyond 3/16 inch requires leveling before flooring installation.
Finally, apply moisture-resistant paint and primer to protect against humidity. Proper waterproofing and humidity management here prevent future problems. You’re creating a space that works well and stands up to moisture damage.
Step 7: Get Final Sign-Off and Plan for Ongoing Care
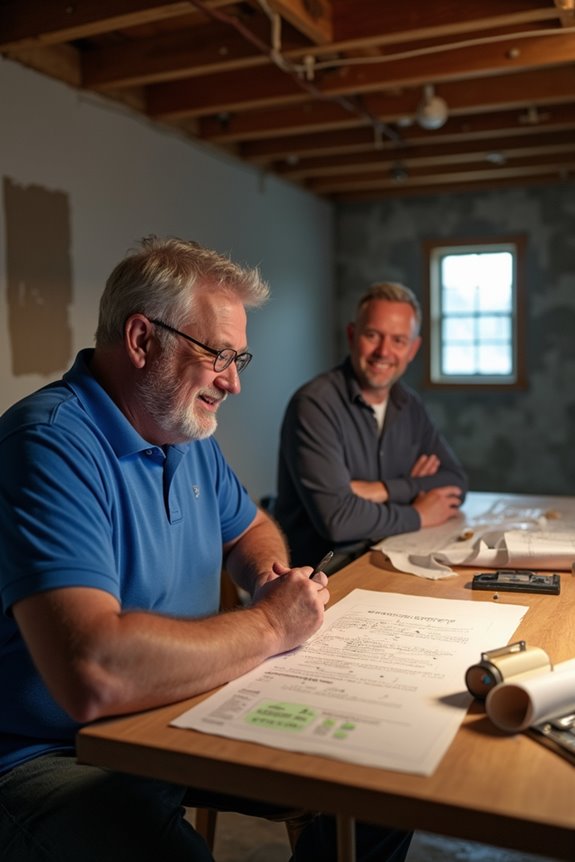
You’re in the home stretch now, and it’s time to get official approval before you can actually use your basement. A final inspection will check that everything meets building codes, your walls are plumb, your systems work properly, and your workmanship is solid—so don’t skip this step or try to rush it. Once the inspectors sign off, you’ll want to create a maintenance schedule that includes routine checks for moisture, cracks, and your HVAC system, since basements need regular attention to stay safe and dry for years to come.
Final Inspections and Approvals
When does your basement actually become official? When you’ve passed final inspections and earned your certificate of occupancy. This is the moment you’ve worked toward—the green light that says your space is safe and ready.
Your inspector will check everything:
- Code compliance across all systems and materials
- System functionality to verify everything works properly
- Workmanship quality in every trade’s finished work
- Punch list completion addressing any remaining issues
The city or building department won’t issue that certificate until you’ve addressed every correction. Once you’ve got it signed off, you’re done with permit approvals. Your basement moves from a construction zone into a legitimate living space. That official paperwork means you can move forward with confidence and actually use your new basement.
Long-Term Maintenance Schedule
Now that the inspector’s signed off and those keys are officially yours, the real ownership begins—and yes, that means maintenance. You’ll want to create a long-term schedule for basement maintenance that keeps everything running smoothly. This isn’t complicated—it’s just smart planning.
| Task | Frequency | Why It Matters |
|---|---|---|
| Check sump pumps | Monthly | Prevents flooding |
| Inspect waterproofing | Seasonally | Catches damage early |
| Monitor moisture control | Quarterly | Stops mold growth |
Focus on these core areas: drainage around your foundation, insulation condition, and your drainage plan’s effectiveness. Schedule post-occupancy inspections annually to catch small issues before they become expensive problems. System upkeep protects your investment and keeps your basement dry, comfortable, and healthy for years ahead.