
Measure from the outside edge of your window molding straight across to get your base width. Then add 4–8 inches on each side for proper coverage and a full look. Next, multiply that total by your chosen fullness—2x for standard, 2.5x for deluxe, or 3x for ultra. Round up to the nearest inch. If you’re using two panels, divide your finished width by two. Continue reading to master style-specific measurements.
Start With Rod Position and Curtain Width Basics
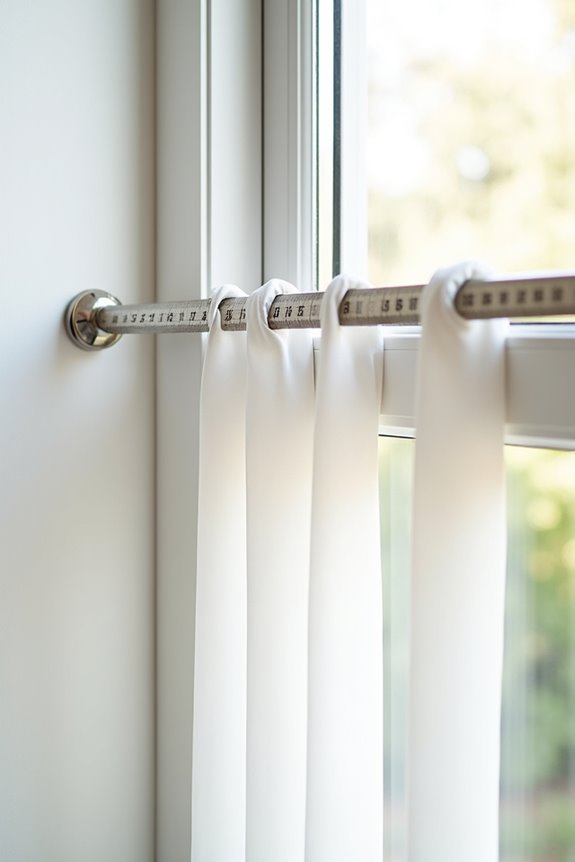
How do you know if your curtains will actually cover your window?
Start by measuring your rod position from left to right across the window. This measurement determines your finished width—the actual coverage you’ll get. Curtains need fullness to look good and function properly. For standard fullness, aim for a finished width that’s about 2 times your window width. So if your window’s 40 inches wide, you’re looking at roughly 80 inches of finished fabric.
This might sound like a lot, but that’s what creates those beautiful, flowing folds you want. Proper fullness makes your curtains hang well and actually block light effectively. You’re building the foundation for curtains that’ll work in your space.
Measure Curtain Width From the Outside Edge of Window Molding
Where should you actually start measuring? Begin at the outside edge of your window molding and measure straight across to the other side. This captures your true measurement scope for curtain width.
Here’s what you’re measuring:
- The full span from left molding edge to right molding edge
- Any trim or decorative elements around your window frame
- The complete window opening, not just the glass
- Space needed for proper fabric coverage
- Starting points for adding extra width
Once you’ve got this baseline measurement, you’ll add 4–8 inches on each side beyond the molding. This extra room keeps your curtains looking full and luxurious while covering the window properly. For larger windows, extend even further to prevent light from sneaking in when curtains open. Taking time here prevents costly mistakes later.
Add 4–8 Inches on Each Side for a Luxurious Look
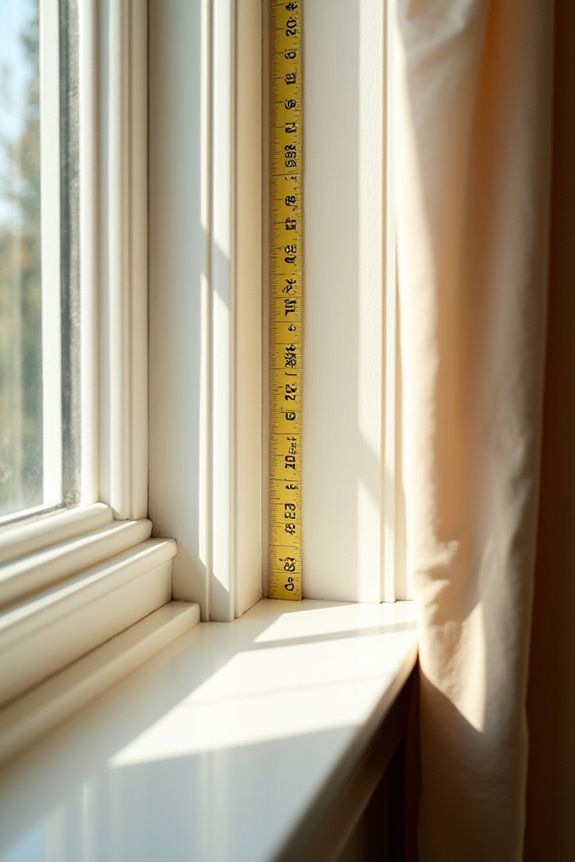
You’ll want to add 4–8 inches on each side of your window opening to create that full, elegant look designers love. This extra width matters because it lets your curtains frame the window beautifully and stack neatly to the sides when you open them, so light floods in without obstruction. By measuring beyond the window molding, you’re giving your curtains room to drape gracefully and show off their fabric in a way that’ll make your whole room feel more polished.
Why Extra Width Matters
When you’re measuring for curtain width, it’s tempting to stick with just the window size—but that’s where many people miss out on a polished, designer look.
Extra width offers practical benefits:
- Prevents light gaps along the sides when curtains are closed
- Creates neat fabric stacks when you open the curtains fully
- Exposes your entire window so natural light floods in completely
- Frames your windows beautifully like a professional decorator designed it
- Adds fullness and movement that makes curtains hang gracefully
Adding 4–8 inches on each side gives you the coverage and luxurious appearance you’re after. This simple adjustment means your rod extends beyond the window trim, allowing curtains to pull back completely. When curtains have adequate width, they appear well-proportioned and deliberately designed rather than stretched or inadequate.
Measuring Beyond Window Molding
How far should your curtain rod actually extend? You’ll want to add 4–8 inches of extra width on each side beyond your window molding. This simple step gives your curtains a fuller appearance.
Here’s why it matters: that extra width prevents light gaps from sneaking through the sides, which nobody wants. Plus, when you open your curtains, they stack gracefully rather than bunching awkwardly.
The measurement process is straightforward:
- Measure from the outside edge of your window molding, left to right
- Add 4–8 inches to each side of that measurement
- That’s your total curtain width
For larger windows, extending even further is smart—it keeps your drapes from blocking light when open. Your design consultant can help you decide the perfect amount based on your fabric choice.
Achieving Fuller, Elegant Drapes
Achieving Fuller, Elegant Drapes
Want your curtains to look expensive? Add 4–8 inches beyond your window molding on each side. This simple technique creates designer-quality window treatments.
Here’s why this approach works:
- Creates luxurious fullness that catches immediate attention
- Allows curtains to stack neatly when you open them
- Blocks light gaps at the edges for better room control
- Frames your windows like a professional installation
- Accommodates higher fullness multipliers (2x to 2.5x curtain width)
When you measure, start from the outside edge of your window molding and add those extra inches per side. The extended rod placement lets your drapes hang beautifully and gives you superior light control. You’ll achieve that rich, expansive appearance that makes rooms feel more polished and purposeful at a reasonable cost.
The Fullness Multiplier: Why It Matters for Your Width Calculation
Ever wondered why your curtains sometimes look thin and flat instead of full and gathered? The fullness multiplier is a practical calculation tool. This number multiplies your window width to determine total panel width needed for the gathered look you’re after.
| Fullness Level | Multiplier | Best For |
|---|---|---|
| Standard | 2x | Classic elegance |
| Deluxe | 2.5x | Rich, flowing drapes |
| Ultra | 3x | Maximum luxury |
Here’s how it works: measure your window width, then multiply by your chosen fullness multiplier. A 36″ window with standard fullness (×2) needs 72″ of total panel width. This accounts for fabric gathers, overlaps, and returns—the details that create full window treatments. Pick your fullness level based on your style preferences and fabric weight, then calculate accordingly.
Rod Pocket Curtains: Understanding Flat-Out Width Measurements
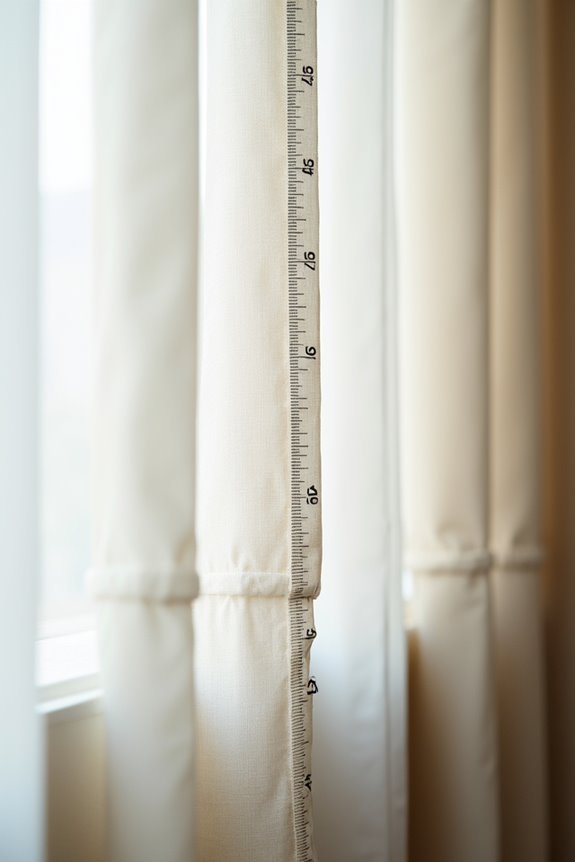
When you’re shopping for rod pocket curtains, here’s the thing—the width listed on the label is what you’re actually getting, not a gathered measurement like with other styles. This flat-out width means you need to plan differently for your curtain width and rod pocket measurements.
Here’s what matters:
- The labeled width is your finished width, not gathered fabric
- Multiply your window width by 2 to 3 for proper fullness factor
- Add extra inches for the actual rod pocket opening
- Extend the rod past your window edges on both sides
- A single 60-inch panel won’t fully cover a 60-inch window alone
You’ll likely need multiple panels working together. Understanding this difference helps you avoid ordering panels that look skimpy when hung. Plan your measurements carefully, and you’ll get the full curtains you want.
Grommet Curtains: Width Expectations and Coverage Rules
How do you know if grommet curtains will actually cover your window? You’ll need to understand how grommet panels work differently than other styles.
Here’s what you’re working with: two standard grommet panels cover about 40 inches when closed. That’s your baseline panel coverage. But here’s where the fullness multiplier comes in—you’ll want 2x to 3x fullness depending on your preference and installation style.
Start by measuring your rod width, then add 4 inches on each side. This extra space provides adequate coverage and a polished appearance.
The math is simple: multiply your total width by your chosen fullness multiplier to find the curtain width you actually need to order. This approach gives you confidence that your panels will drape properly and cover completely.
Pinch-Pleated Drapes: How Built-In Fullness Changes Your Measurement

Unlike grommet curtains where you multiply your width by 2x or 3x fullness, pinch-pleated drapes work differently because the fullness is already built right into the fabric.
Here’s what you need to know about pinch-pleat fullness:
- A pair labeled 48″ wide gives you roughly 36″ of actual window coverage
- The measured width on the label isn’t what you see when curtains hang
- Built-in pleats mean you skip the doubling math entirely
- Plan for about two-thirds of the labeled width as your effective coverage
- Account for a 12″ overlap when panels close, plus any returns to walls
This approach simplifies your shopping process. You’re not calculating complicated fullness ratios. Instead, use that labeled measurement directly to estimate what wall space you’ll actually cover. It’s straightforward once you understand how these drapes function.
Calculate Your Finished Curtain Width in Three Steps
Now you’ve got your window width measurement—so here’s where the math comes in. You’ll take that number and multiply it by your fullness choice (standard 2x, deluxe 2.5x, or ultra 3x) to figure out how wide your finished curtains need to be. This multiplication step gives you panels with the appropriate fullness when they’re hanging.
Measure Your Window Width
When it comes to getting your curtain width just right, you’ll want to start with an accurate measurement of your actual window.
Here’s what you need to do:
- Measure from the outside edge of the molding, left to right, not the glass itself
- Capture the true frame size for accurate curtain width planning
- Add 4 to 8 inches of extra width on each side for coverage
- Use your fullness multiplier (2 for standard, 2.5 for deluxe, 3 for ultra) to calculate total fabric needed
- Consider extending the rod beyond the window casing to prevent light leaks
This window measurement becomes your foundation. Once you’ve got this number, you’ll multiply it by your chosen fullness multiplier. This calculation gives you the finished curtain width you’re aiming for. Getting accurate measurements will help you achieve functional curtains that work well in your space.
Apply Fullness Multiplier
Once you’ve got your window width locked in, it’s time to put that number to work. Here’s where curtain fullness comes into play—it’s what creates flat panels into those gorgeous, gathered drapes you’re after.
Take your window width and multiply it by your chosen fullness multiplier. You’ve got three options: standard (2x), deluxe (2.5x), or ultra-fullness (3x). A 36″ window with 2x fullness? That’s 72″ of finished width you’ll need.
Once you’ve calculated that number, round up to the next full inch. This width multiplier guarantees your panels hang beautifully with proper gathering. If you’re using two panels, divide your finished width by two to find each panel’s width. That’s your target measurement for ordering or sewing.
Common Curtain Width Mistakes and How to Avoid Them
Why do so many curtains end up looking skimpy or unbalanced? You’re likely making common curtain width measurement mistakes that sabotage your finished look.
Avoid these frequent errors:
- Forgetting to add 4 inches on each side beyond the window opening
- Skipping the fullness multiplier entirely and measuring only the window width
- Measuring just the window opening instead of the entire rod width
- Ignoring overlaps and returns in pinch-pleat drapes, which reduce actual coverage
- Installing rods too close to the window frame, blocking light when curtains close
You’ll get professional results by measuring rod width left to right, applying a 2x fullness multiplier minimum, and extending measurements beyond your window. These simple adjustments improve your curtains from disappointing to designer-quality. Proper measurement is important.
Round Your Measurements: Best Practices for Ordering
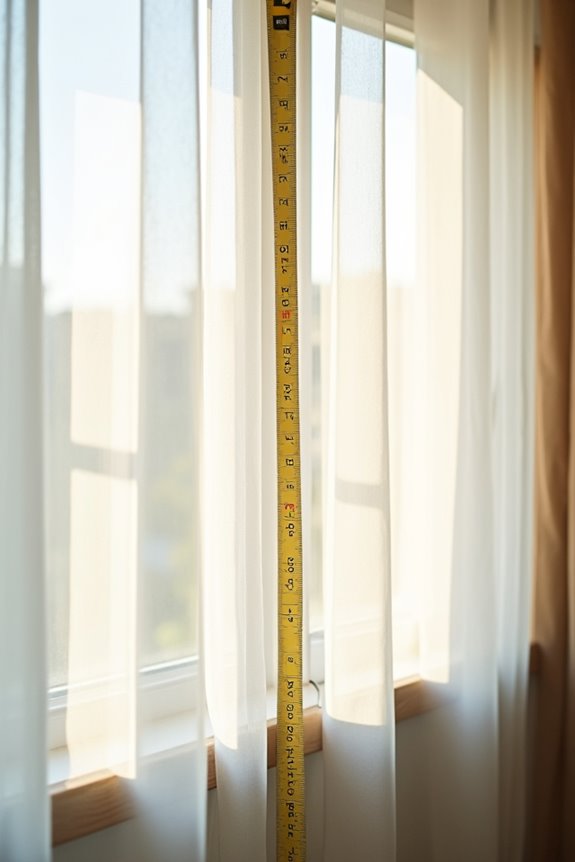
How do you actually know what number to punch into your order form? After you’ve measured your window width and applied your fullness multiplier, you’re ready for the final step: measurement rounding.
Always round up to the next full inch. If your calculation gives you 94.5 inches, order 95 inches. This extra cushion prevents gaps and keeps your curtains hanging properly.
Here’s why rounding matters: fabric shrinks slightly, and that tiny buffer protects your investment. When you’re ordering panels with a fullness multiplier of 2 or 2.5, rounding up gives you that luxurious, gathered look you’re after.
Don’t stress about being exact to the decimal. Round up, and you’ll get curtains that fit just right.
When Measurement Gets Tricky: Bay Windows, Sloped Ceilings, and Curved Walls
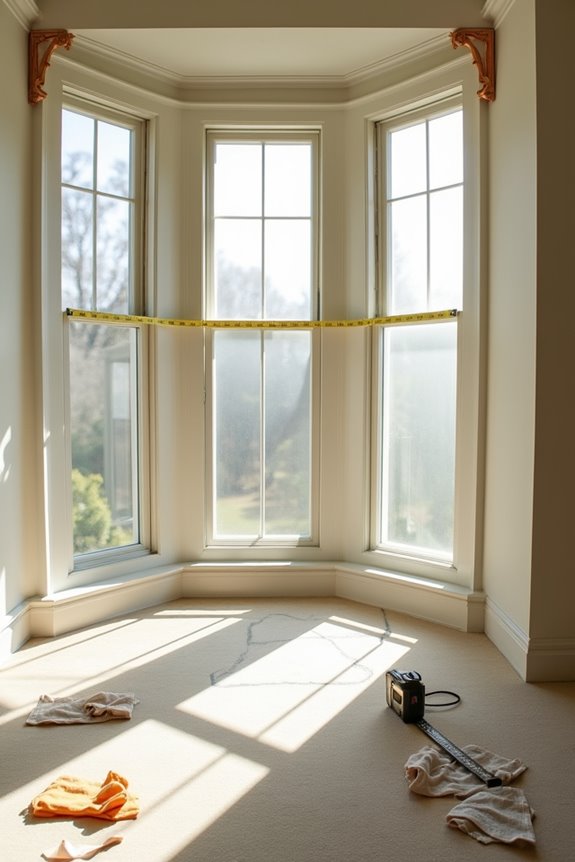
Special Situations You Might Face:
- Bay windows require measuring each pane separately, then adding them together for true width
- Sloped ceilings need measurements at both the top and bottom of your opening
- Curved walls demand multiple panels with flexible mounting systems
- Non-vertical walls benefit from extra 4–8 inches per side for proper fullness
- Complex angles warrant professional measurement for accurate results
When geometry gets involved, your standard approach won’t work. A bay window’s angles create uneven widths that’ll throw off your calculations if you’re not careful. Sloped ceilings shift your available space, affecting both height and clearance. Curved walls need special consideration too.
Don’t hesitate calling professionals for tricky spaces. Getting measurements right the first time beats expensive returns later.
Verify Your Curtain Width Measurement: A 3-Step Checklist Before Ordering
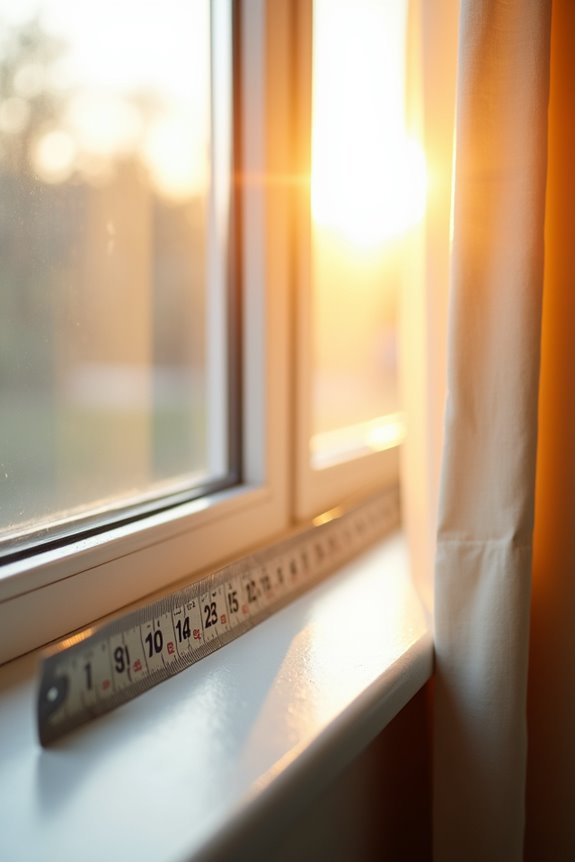
Before you click “buy now,” you’ll want to triple-check your measurements using these three key steps: measure your rod from end to end, add 4–8 inches of extra coverage on each side, and calculate your fullness multiplier (2x for standard, 2.5x for deluxe, or 3x for ultra). We’ll break down each step so you can feel confident in your final numbers. Getting these details right now means you won’t end up with curtains that are too narrow or panels that don’t hang the way you imagined.
Measure Rod To Molding
Why does your curtain rod’s position matter so much? Your rod’s exact location determines your final curtain width and how well light gaps disappear.
Here’s what you’ll measure:
- Distance from the rod’s left bracket to its right bracket
- Space between the rod and your window’s molding on each side
- Rod projection (how far it sticks out from the wall)
- Clearance needed to avoid blocking window trim
- Additional inches required for proper coverage
Start by measuring from your rod’s left end to right end across the window. Don’t include molding in this measurement. Then, confirm your rod extends beyond the trim on both sides—typically at least 4 inches per side. This prevents light from sneaking around your curtains and allows proper curtain width coverage.
Add Extra Coverage Space
How much extra fabric do you actually need beyond your window’s edges? The answer depends on your style goals and rod placement.
The Basic Formula
Add 4–8 inches on each side of your window for side coverage. This overlap prevents light gaps and gives your curtains a polished appearance. Next, multiply your total width by your fullness multiplier—usually 2x—to determine how much fabric you’ll actually need when panels gather.
Plan for Your Rod
Extend your rod 6 inches beyond the window frame on each side. This spacing lets your curtains stack open completely, maximizing natural light without blocking your view.
Remember: fuller, wider curtains look deliberate and welcoming. You’re not overdoing it—you’re creating that gathered, designer aesthetic.
Calculate Fullness Multiplier Needs
Now that you’ve planned your rod placement and side coverage, it’s time to nail down exactly how much fabric you need—and that’s where the fullness multiplier comes in.
The fullness multiplier determines your curtain’s drape and visual impact. You’ll multiply your window width by a specific number based on the look you want:
- Standard fullness (2x): Creates a clean, tailored appearance
- Deluxe fullness (2.5x): Offers elegant waves and better light blocking
- Ultra-fullness (3x): Delivers luxurious, dramatic folds
- Your measurement: Window width × chosen multiplier = fabric width needed
- Pro tip: Round up to the nearest inch for accuracy
For a 36″ window with 2x fullness, you’d need 72″ of finished width. Two panels give you roughly 100–120″ total, accounting for overlaps. This measurement guarantees your curtains hang properly while maintaining adequate coverage and light control throughout your space.