Hanging curtains like a pro starts with measuring twice—your window width, ceiling height, and wall space.
Mount your rod 4–6 inches above the frame, extending 6 inches on each side for balance.
Choose your curtain length (84–108 inches depending on ceiling height), pick sturdy hardware, locate wall studs, and drill pilot holes.
Thread panels onto your rod, space them evenly for fullness, then train the fabric into crisp folds over 48–72 hours.
The details matter—master each step for professional results.
Step 1: Measure Your Window, Ceiling, and Wall
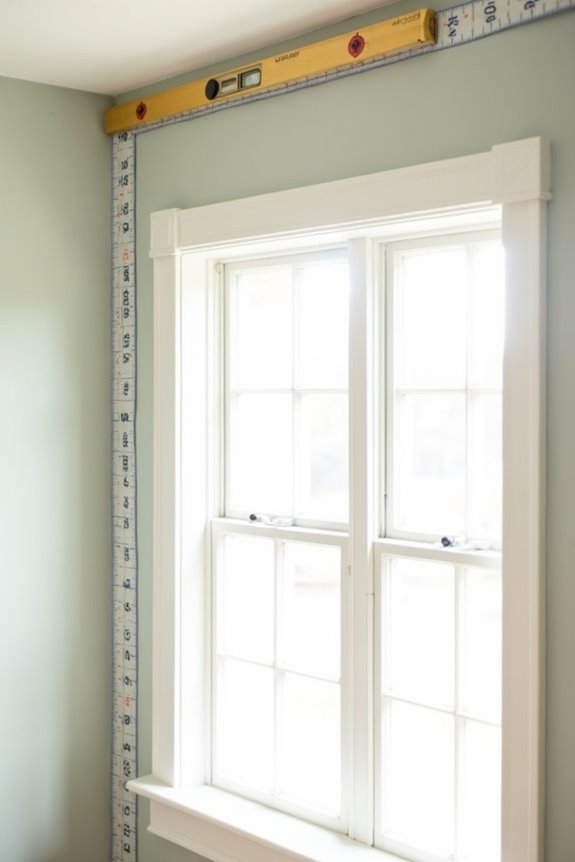
The key to hanging curtains correctly starts before you even touch a drill—you’ve got to measure everything. Grab your tape measure and check your ceiling height and window width at least twice. These measurements determine your rod placement and proper curtain length.
For standard 8-foot ceilings, aim for 96-inch curtains. Taller ceilings need 108 inches. Position your rod 4 to 6 inches above the window frame—this visually raises your space and makes it feel bigger.
Mount your rod at least 6 inches wider than your window on each side. Finally, use a level to mark your bracket heights. You’ll want sturdy wall anchors suited to your wall type. Double-check everything before drilling.
Step 2: Choose Your Curtain Length and Drape Style
Now that you’ve got your measurements locked in, it’s time to pick how long you want your curtains and what style suits your space. Your curtain length and drape style work together to create the look you’re after. You’ll choose between kiss length (touching the floor), puddle length (pooling below), or float length (hovering above). The fabric weight matters too—heavier drapes pair better with longer lengths to avoid gaps.
| Curtain Length | Best For | Ceiling Height | Effect |
|---|---|---|---|
| 84 inches | Standard rooms | 8 feet | Clean, simple |
| 96 inches | Most homes | 8 feet | Designer feel |
| 108 inches | Tall spaces | 9+ feet | Dramatic look |
| Floor-length | Contemporary | Any | Polished appearance |
Consider your window treatment goals. Want a modern vibe? Go with kiss length. Craving drama? Puddle length delivers. Pair longer styles with high hanging for maximum impact and the spacious, professional appearance you’re building.
Step 3: Determine Rod Width and Mount Height
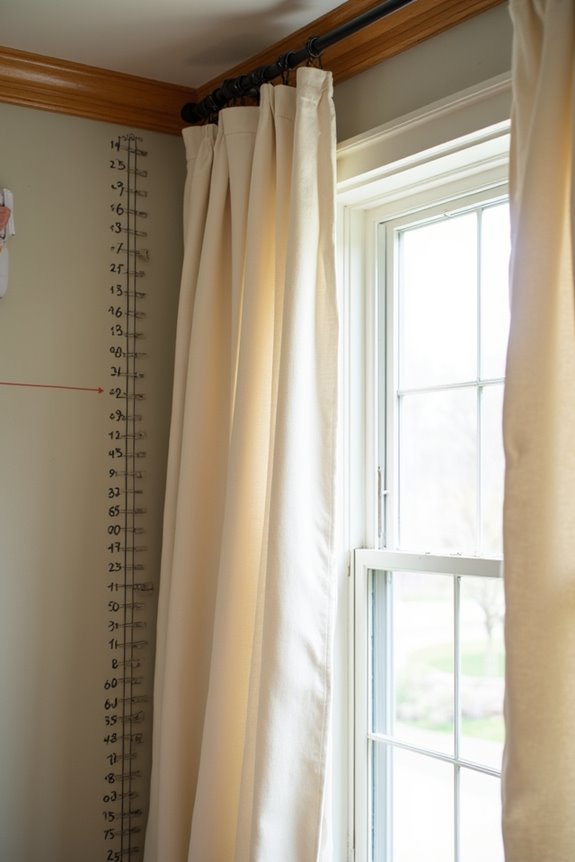
Once you’ve settled on your curtain length and drape style, you’ll want to figure out where that rod’s going to hang and how wide it needs to be.
Measure Your Curtain Rod Width
Start by measuring your window frame, then add 6–12 inches for a professional, polished look. This extra length lets your rod extend beyond the frame on both sides, which prevents light gaps and makes movement easier.
Mark Your Mount Height
Mount your brackets 4–6 inches above the window frame. This creates the illusion of taller ceilings and a wider window treatment blend. Use a level when marking bracket spacing across all wall mounting locations—keeping everything straight matters.
For heavier fabrics, add a center support bracket to prevent sagging.
Step 4: Pick a Sturdy Curtain Rod and Brackets
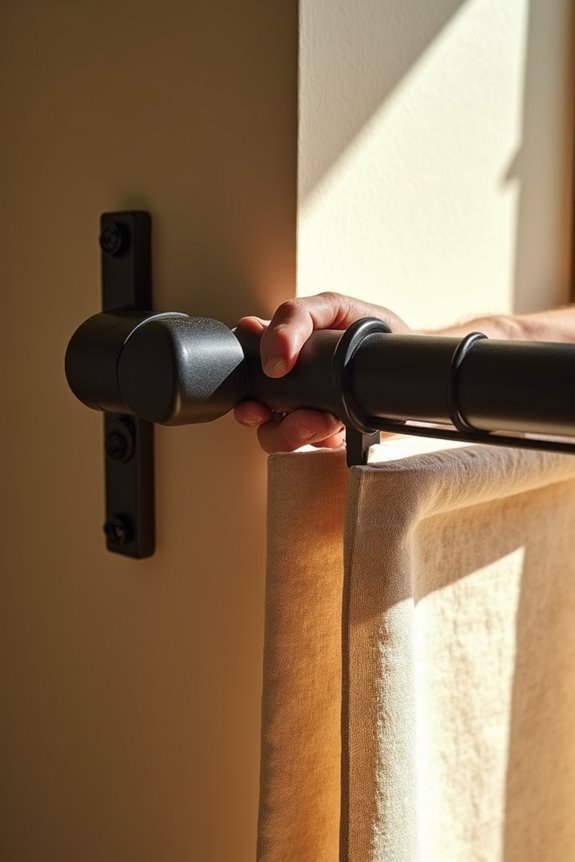
What’s holding up your curtains matters just as much as where you’re hanging them. You’ll want a sturdy rod that won’t sag under weight, especially with heavy fabrics like velvet. Choose a thicker rod with adequate diameter, and add center support brackets for wide windows to keep everything level and secure.
Match your rod finish to your room’s other metals, or intentionally contrast for visual impact. Before installation, gather your brackets, level, and wall anchors. Here’s what you do: align brackets carefully, check everything with your level, then drill or use appropriate wall anchors for secure mounting. Skip this step and you risk sagging curtains. Proper installation keeps your curtains hanging well for years to come.
Step 5: Gather Tools and Locate Your Wall Studs
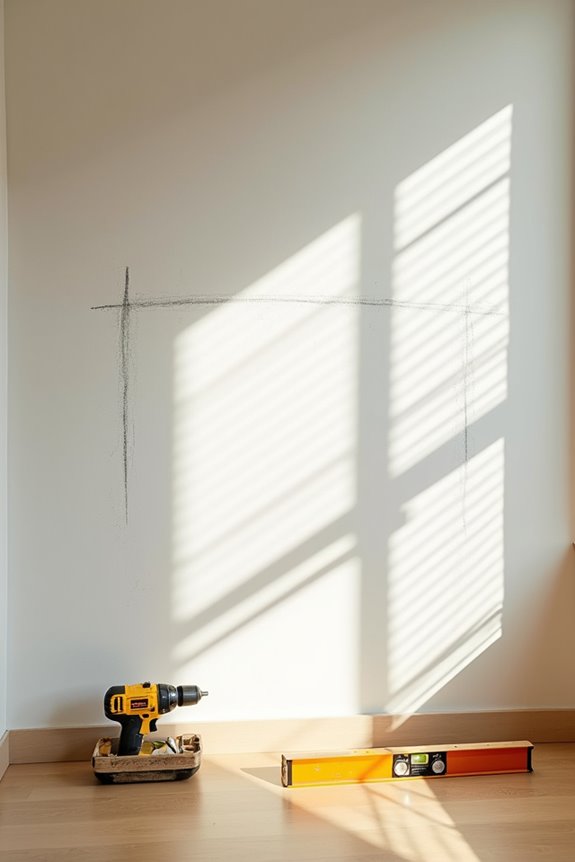
Step 5: Gather Tools and Locate Your Wall Studs
You’ve picked your rod and brackets. Now it’s time to set up your workstation and gather the right tools. Grab a tape measure, pencil, level, drill, wall anchors, and screws from your curtain rod kit. These essentials make installation smooth.
Before you drill, locate your wall studs using a stud finder. Studs provide the strongest hold for your brackets, keeping everything secure long-term. If you can’t find studs behind your window, that’s okay—quality wall anchors work well in drywall.
Mark your bracket positions roughly 4–6 inches above the window frame, then use your level to draw a straight line. Double-check alignment before drilling. This small step prevents wonky curtains and saves frustration later.
Step 6: Mark Bracket Positions and Check Your Level
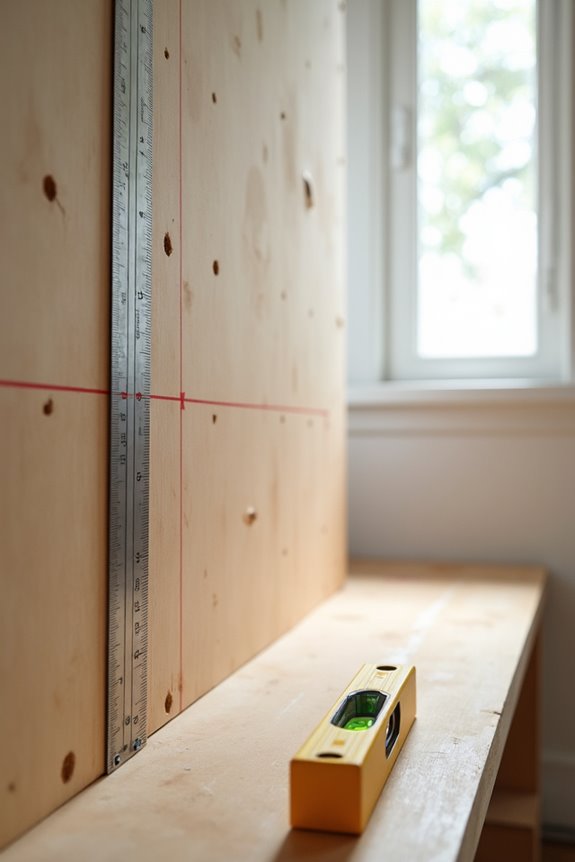
How straight is your pencil line? That’s your foundation for perfect curtain brackets. You’ll mark bracket spots 4–6 inches above your window frame, then use a level to verify everything’s straight. Here’s what you’ll do:
- Mark roughly 4–6 inches above the window frame with a pencil
- Run a level along the marks to keep a straight line
- Measure 3–6 inches from the window side for your first screw alignment
- Replicate marks on the opposite side for symmetry
- Double-check both marks are level and even
Before drilling, check if your marks hit wall studs. If they don’t, you’ll need wall anchors for a secure hold. Once anchors are set, align your curtain brackets over the marks and drive screws in firmly. Your level line guarantees a perfectly hung rod every time.
Step 7: Drill Brackets Secure Into Your Wall
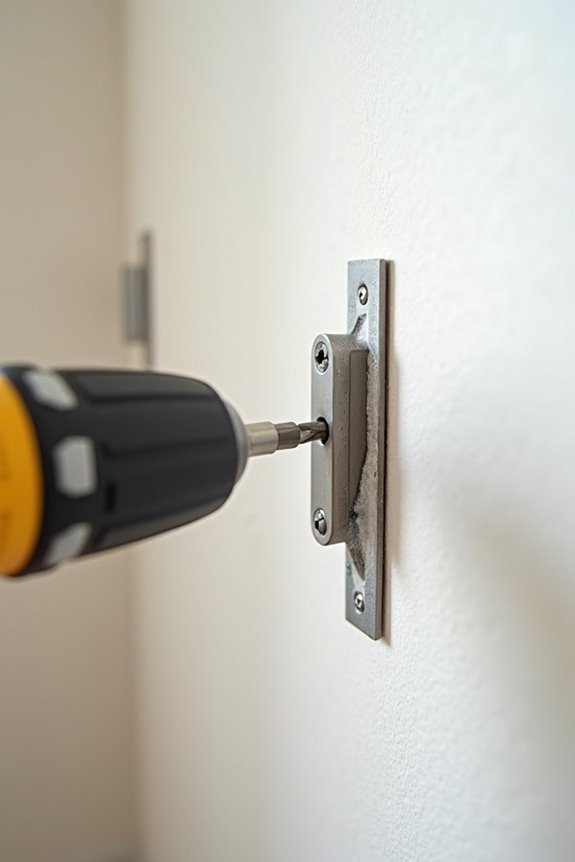
Now you’ll drill pilot holes and secure those brackets so your curtains stay firmly in place. If your marks hit a wall stud, drill and screw in directly—but if they don’t, tap in wall anchors first to provide a solid foundation. Drive those screws in tight and secure, and you’ll have a sturdy setup that holds up your curtains without any sagging or bowing.
Secure Anchoring Ensures Stability
Why does your curtain rod sag like a tired smile after a few weeks? Weak anchoring, that’s why. Proper installation is the foundation of everything.
Here’s what keeps your setup rock-solid:
- Choose wall anchors matched to your wall type—hollow drywall needs special ones
- Drill pilot holes slightly smaller than your anchors, then gently tap them flush
- Position bracket marks 4–6 inches above the window frame
- Use a level to verify both marks align perfectly
- Add center support brackets for wide or heavy curtains
After mounting, verify everything with your level. Hang the rod and test for sag-free support before adding curtains. Solid anchoring means your curtains stay put for years.
Proper Mounting Prevents Sagging
Getting your brackets drilled straight and secure is critical to preventing sagging—this is what stops your curtains from drooping. You’ll want to drill into studs whenever possible for maximum support, especially with heavier curtains. If studs aren’t available, use wall anchors appropriate for your wall type. Position your brackets 4–6 inches above the window frame, extending 3–6 inches outward to fit your curtain rods properly. Drill pilot holes slightly smaller than your anchors, then insert them flush against the wall. Tighten those screws firmly—don’t skimp here. Once mounted, hang your rod and check it with a level. Proper bracket installation will keep your curtains looking professionally hung for years to come.
Step 8: Thread Panels and Hang Your Rod
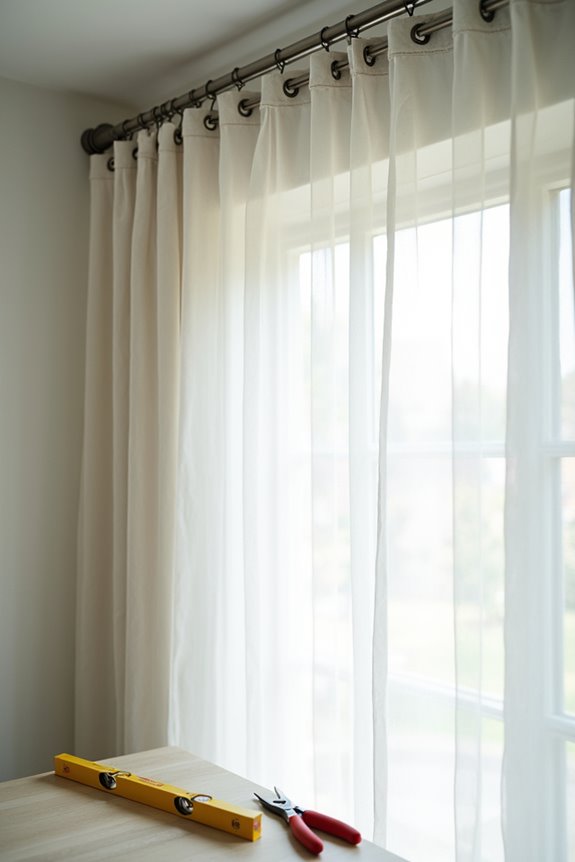
You’re almost at the finish line—it’s time to bring your curtains to life. Now comes the satisfying part where everything comes together. Here’s what you’ll do:
You’re almost at the finish line—it’s time to bring your curtains to life and admire your professional handiwork.
- Thread your curtain panels onto the rod smoothly
- Attach rings with clips or drapery pins if you’re using pinch pleats
- Lift the rod carefully into your wall brackets
- Check that the rod sits level using a spirit level
- Space your pleats evenly for a polished, designer look
Once your rod’s secure and level, step back and admire your work. Fluff those panels gently, adjusting the folds until they look balanced and even. Make small spacing tweaks as needed. You’ve just hung curtains like a pro.
Step 9: Space Panels and Layer for Full Coverage
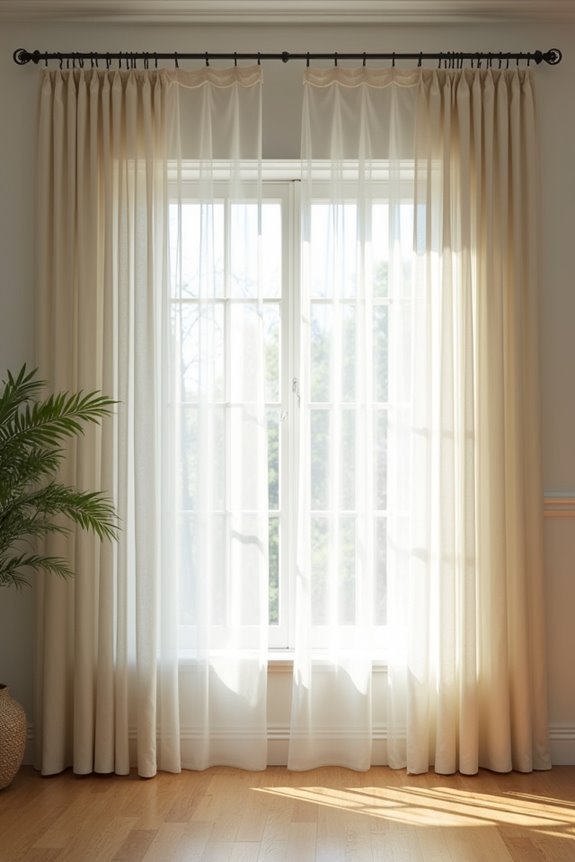
Now that your rod’s hanging level and secure, it’s time to fine-tune how your panels look and perform. You’ll want to space your curtains evenly to create uniform folds that look polished and intentional. Then, consider layering for that full, professional appearance you’re after.
| Technique | Purpose | Result |
|---|---|---|
| Even spacing | Creates balance | Polished look |
| Layering sheers | Adds depth | Soft light control |
| Heavy drapes | Provides coverage | Light blocking |
| Fuller width | Increases fullness | Elegant feel |
Start by arranging your panels so they hang symmetrically from the rod’s center. You’ll want your total width to be 1.5 to 3 times your window width for proper fullness. Next, layer a sheer under heavier drapes for dimension and complete coverage. This combination gives you the best of both worlds—beauty and function working together.
Step 10: Shape Folds and Perfect Your Curtain Hang
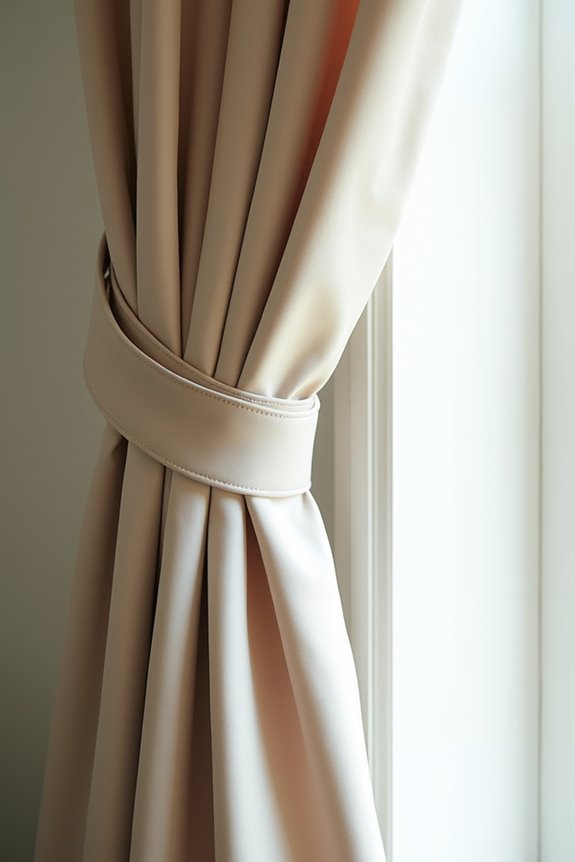
Now that your panels are hung, you’ll want to fluff them and space the folds evenly to create those polished, columnar pleats you’re after. Use an accordion-style folding technique, then loosely tie your panels at the top, middle, and bottom with soft ties to encourage the folds to stay consistent while the fabric develops its memory over the next 48–72 hours. If stubborn wrinkles stick around after training, hit them with a garment steamer to smooth everything out and lock in that tailored appearance.
Fluff and Arrange Pleats
The key to polished curtain panels lies in taking time to shape them into crisp, columnar folds.
Start by hanging your panels, then use an accordion-fold technique to arrange your pleats evenly across the rod’s full width. Here’s what to do:
- Use pinch-pleat or box-pleat headers spaced consistently along the length
- Press each pleat to maintain uniform depth throughout
- Loosely tie panels at the top, middle, and bottom to train the folds
- Inspect both sides for equal pleat spacing and no visible gaps
- Allow 48–72 hours for fabric to set into neat lines
Once your fabric folds settle naturally, you’ll achieve that polished look. Your curtain styling doesn’t require perfection—just patience and these straightforward steps.
Layer and Style Curtains
What’s the difference between curtains that look bunched and those that look polished? It’s all about fabric memory and intentional layering. After you’ve hung your curtains using proper curtain hardware at the right curtain rod height, you’ll train them into perfect folds. Use accordion-style folding, then loosely tie panels at the top, middle, and bottom. This creates those gorgeous columnar lines you’re after.
Here’s what matters: wait 48–72 hours. Your fabric needs time to settle and develop memory. Meanwhile, adjust your spacing evenly across your window width for balanced fullness. If wrinkles appear, use a garment steamer for that professional finish. You’ve mastered how to hang curtains properly—those tailored layers demonstrate it.