
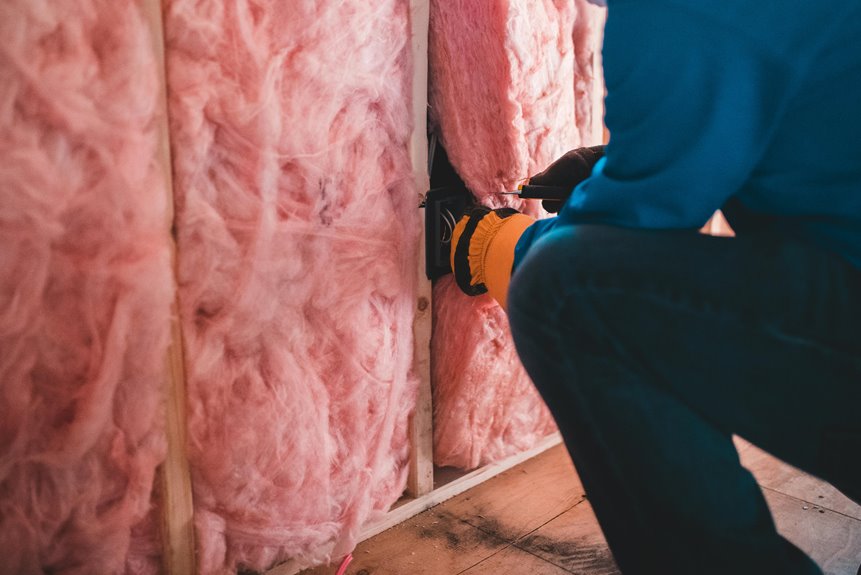
You should insulate your basement ceiling only if it’s heated and finished. In unfinished, cold basements, skip the ceiling—you’ll waste money and risk trapping cold air that freezes pipes. Instead, focus on sealing rim joists and foundation walls where heat actually escapes.
For finished basements, insulation helps comfort but won’t dramatically cut energy costs. Moisture control matters most: address leaks before adding anything. The right material and approach depend entirely on your basement’s condition and climate.
When to Insulate Your Basement Ceiling
When should you actually insulate your basement ceiling? It depends on what kind of basement you’ve got.
When should you insulate your basement ceiling? It depends on what kind of basement you’ve got.
If you’re working with an unfinished basement that stays cold, skip the ceiling insulation. Instead, focus your energy on air sealing the rim joists and foundation walls—these spots leak heat way more than your ceiling does. Insulating above traps cold air downstairs, risking frozen pipes.
Got a conditioned basement that’s heated and finished? Ceiling insulation helps your upper floors feel more comfortable and improves overall energy efficiency, though it’s not the biggest energy saver.
Before tackling any basement ceiling insulation project, address moisture issues first. Leaks and dampness take priority over everything else.
Once your space is dry and you’ve sealed air leaks, then consider ceiling work.
When Basement Ceiling Insulation Wastes Money
If you’ve already finished and heated your basement, you’re probably throwing money away by insulating that ceiling—your walls and floor do the real work, not what’s overhead. Things get trickier in unfinished basements, where ceiling insulation can actually backfire by trapping heat upstairs and leaving your pipes vulnerable to freezing. Unless you’re mainly after soundproofing between floors, you’ll get better energy returns by focusing on insulating your rim joists and foundation walls instead.
Finished Basement Redundancy
Why spend money insulating a basement ceiling when you’ve already finished the space and heated it? You’ve created a conditioned space—meaning it’s already cooled or heated like the rest of your home. Adding ceiling insulation won’t deliver meaningful energy savings since your finished basement isn’t losing heat through the ceiling anymore.
The real benefit? Soundproofing between floors. If noise matters to you, that’s worth considering. But for energy performance, you’re looking at immediate redundancy.
Instead, redirect your budget toward what actually works: seal and insulate rim joists and foundation walls. These spots are major heat leaks that ceiling insulation can’t address. You’ll see real comfort improvements and genuine energy savings where it counts.
Unfinished Space Complications
insulating the ceiling can actually make your situation worse instead of better. You’d think adding insulation everywhere helps, right? Not quite. In an unconditioned basement, ceiling insulation blocks warmth from upper floors, cooling your space further and risking frozen pipes during winter. Plus, it doesn’t significantly reduce heat loss from your living area outdoors—so you’re not gaining much energy efficiency.
Instead, focus your efforts where they matter most. Your basement walls and rim joist are the real heat culprits in unfinished spaces. Insulating those areas delivers better results than ceiling work. Cold floors won’t improve with overhead insulation either. Skip the basement ceiling insulation and invest in wall insulation instead. You’ll see real returns on your energy investment.
Finished vs. Unfinished Basements: Why It Matters for Basement Insulation
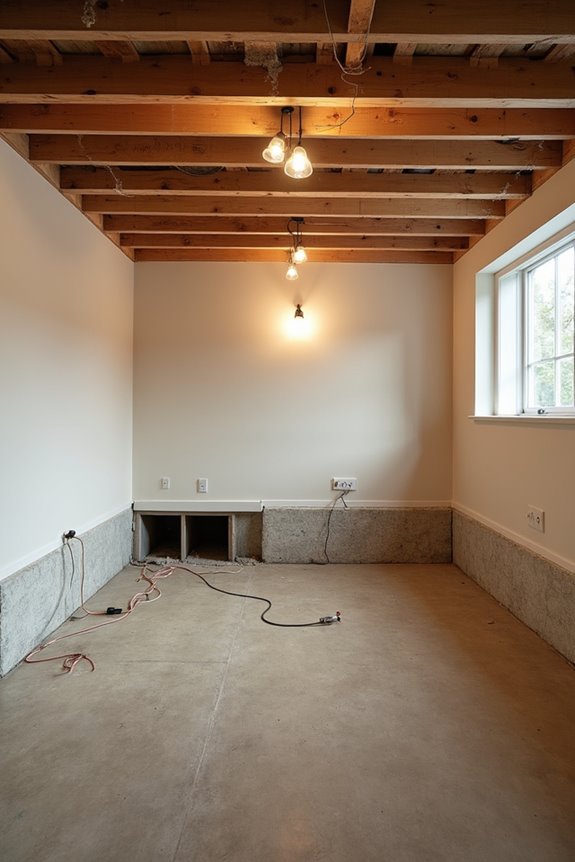
Finished vs. Unfinished Basements: Why It Matters for Basement Insulation
The decision to insulate your basement ceiling depends almost entirely on whether your basement is finished and heated or unfinished and cold—and the difference between these two situations is significant.
In a finished basement, you’re already conditioning the space, so ceiling insulation won’t save much energy. It mainly helps with soundproofing between floors. But in an unfinished basement, adding insulation can actually block heat from upper floors, making your basement colder and risking frozen pipes.
Here’s what matters most:
- Finished basements benefit more from insulating walls and rim joists instead
- Unfinished basements need heat transfer protection, not ceiling barriers
- Climate considerations and moisture control should guide your approach
The practical approach? Skip the basement ceiling insulation in most cases. Focus on your actual usage, local climate, and overall comfort instead. You’ll save money and avoid unexpected problems.
Moisture and Vapor Barriers: Key Basement Insulation Challenges
When you’re thinking about insulating your basement ceiling, moisture might not be the first thing that comes to mind—but it should be near the top of your list. Basements are naturally damp environments, and you’ll want to assess your basement moisture readiness before installing anything.
Check for existing water damage, humidity levels, and dampness. Stone wool insulation is inherently water repellent, which reduces moisture intrusion risk without requiring a vapor barrier. However, adding one provides extra protection when conditions warrant it.
Here’s the catch: improper vapor barrier placement traps moisture and creates serious mold risk. Local codes and your finished ceiling type matter too. If you’re using rigid foam, you’ll likely need a fire-rated barrier.
Get professional guidance to navigate these decisions correctly.
Rim Joists and Foundation Walls: Where to Prioritize Basement Insulation
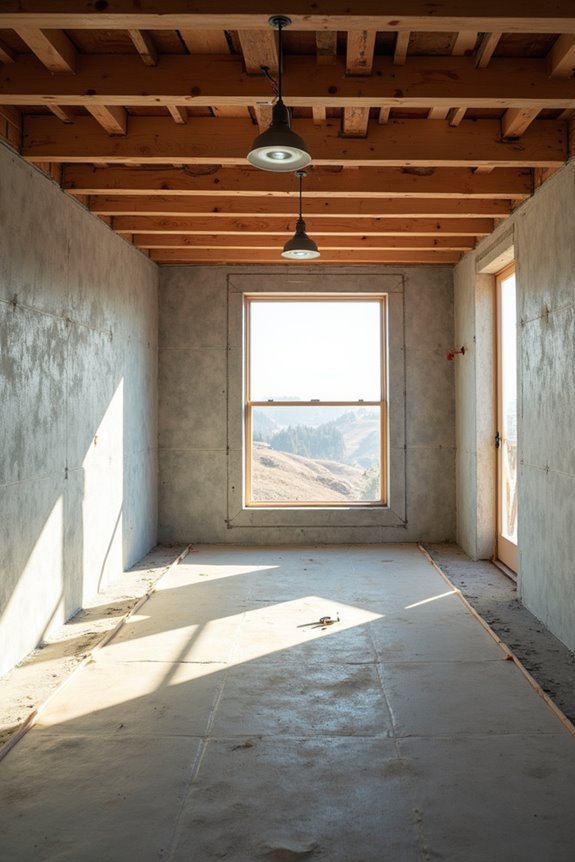
Want to know where you’ll get the biggest bang for your insulation buck? Focus on rim joists and foundation walls—these areas leak heat like a sieve if you skip them.
Start by air sealing gaps before adding any insulation. This prevents heat from sneaking away through cracks. Then choose your material:
- Foam board offers superior moisture control when placed directly against concrete
- High-density batts work well in milder climates for the band joist and sill
- Air sealing first stops convective heat loss that batts alone can’t prevent
You’ll notice drafts disappear and your heating bills drop when you tackle these spots. Unlike interior partition walls (which give minimal returns), strengthening your foundation perimeter creates real comfort. You’re building a thermal barrier that actually works.
Which Material Works Best: Rigid Foam, Fiberglass, or Spray Foam?

Which Material Works Best: Rigid Foam, Fiberglass, or Spray Foam?
Now that you’ve sealed those rim joists and foundation walls, you’ll need to pick the right insulation material to actually do the substantial work.
| Material | Best For | Drawback |
|---|---|---|
| Rigid Foam | High R-value in tight spaces | Higher upfront cost |
| Fiberglass Batts | Budget-conscious DIYers | Lower R-value per inch |
| Spray Foam | Air sealing and moisture control | Requires professional installation |
You’ve got three solid options for your basement ceiling. Rigid foam boards deliver impressive R-values without eating up space—ideal when you’re working with limited headroom. Fiberglass batts are affordable, though you’ll need proper vapor barriers to prevent moisture problems. Spray foam seals everything tight and often acts as its own vapor barrier, but professional installation costs more upfront. Consider your climate, budget, and whether you’re tackling this yourself or hiring help.
How to Install Each Insulation Type (Step by Step)
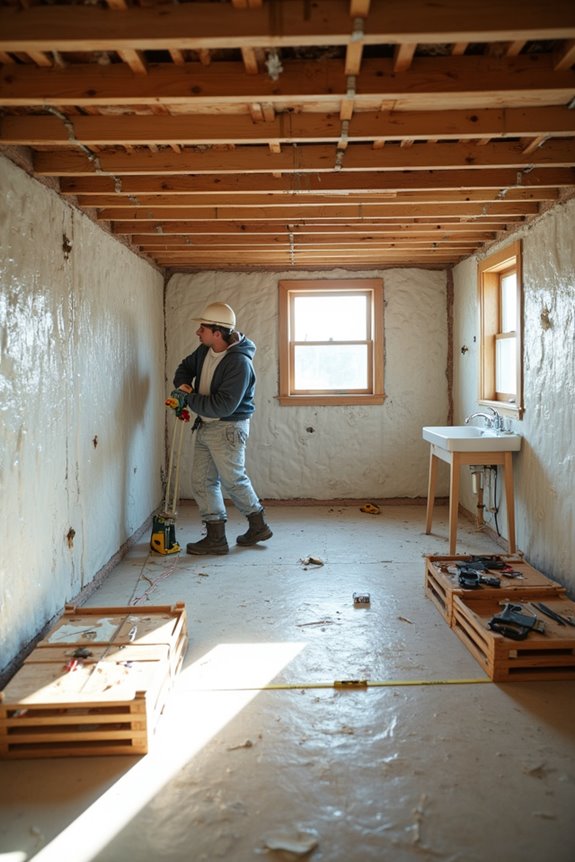
Ready to install basement ceiling insulation? It’s straightforward, and you have three main options.
Spray Foam Insulation requires professional installation, but it creates an airtight seal and handles moisture effectively. Rigid Foam Boards work well for DIY projects—cut them to fit, adhere with construction adhesive, seal seams with foil tape, then add a fire-rated thermal barrier like drywall. Fiberglass Batts offer the most accessible DIY option; fit them between joists without compressing, and add a vapor barrier according to your climate’s codes.
Each method addresses different R-value needs and moisture concerns:
- Spray foam acts as its own vapor barrier
- Rigid foam needs sealing at every seam
- Fiberglass requires separate vapor barrier protection
Choose based on your budget, skill level, and basement conditions.
Tax Credits and Cost Reduction Opportunities
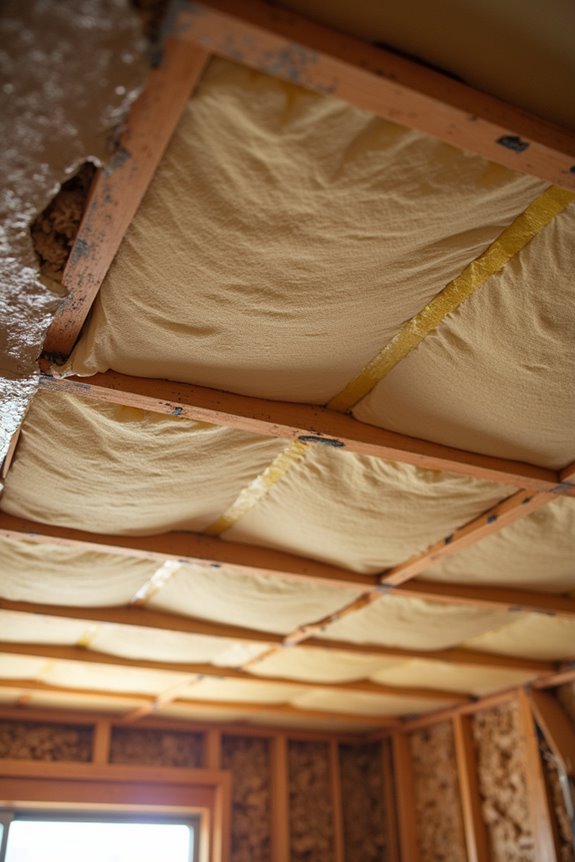
Have you considered that basement insulation might actually pay for itself? You’re in luck—federal programs offer up to $1,200 in insulation credits for qualifying basement projects completed by year’s end.
Here’s what you need to know: You’ll receive tax credits when your basement insulation and air sealing meet specific R-value requirements. The credit helps offset your upfront costs, making improvements more affordable for your family.
To qualify, you have two options. You can hire a qualified contractor who’ll handle everything, or tackle DIY insulation if you’re feeling handy. Either way, your work must meet program standards.
Before starting, schedule a pre-assessment with a contractor. They’ll verify your basement qualifies and explain local eligibility requirements. This simple step maximizes the dollars available to you.
Schedule Your Free Basement Insulation Assessment
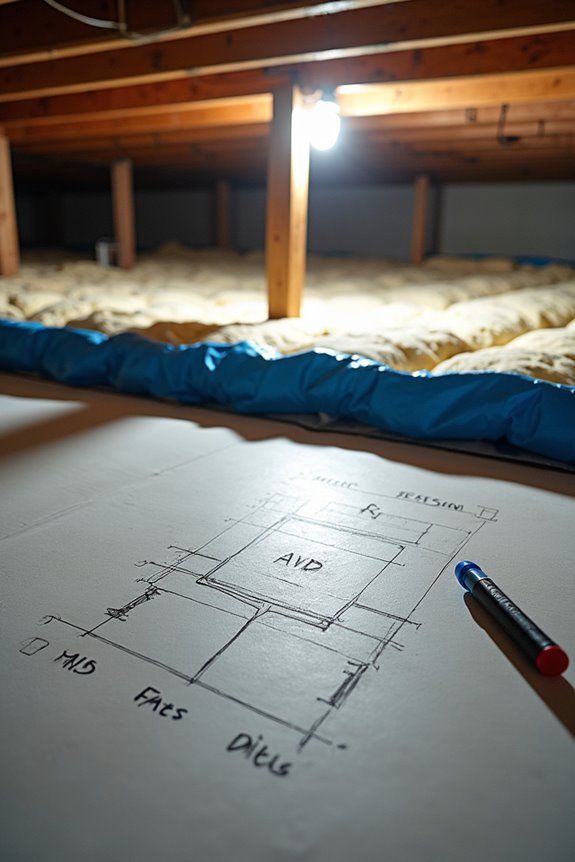
What’s the best first step toward a more energy-efficient basement? Schedule your free basement insulation assessment with One Hour Heating & Air Conditioning. This comprehensive evaluation examines your basement, attic, and walls to pinpoint exactly where you need improvements—whether that’s basement ceiling insulation, air sealing around rims, or moisture control first.
The assessment identifies high-impact, low-cost solutions tailored to your local climate and home’s specific needs. You’ll learn about the right insulation types and R-value requirements based on facts, not guesses.
Why this matters:
- Stops wasting money on ineffective upgrades
- Reveals hidden energy losses professionals spot instantly
- Creates your personalized improvement roadmap
Call (800) 893-3523 to locate your nearby service location. With 10+ years serving the greater Cincinnati area, their worker-owned team delivers honest guidance. Your consultation costs nothing—just knowledge you’ll actually use.