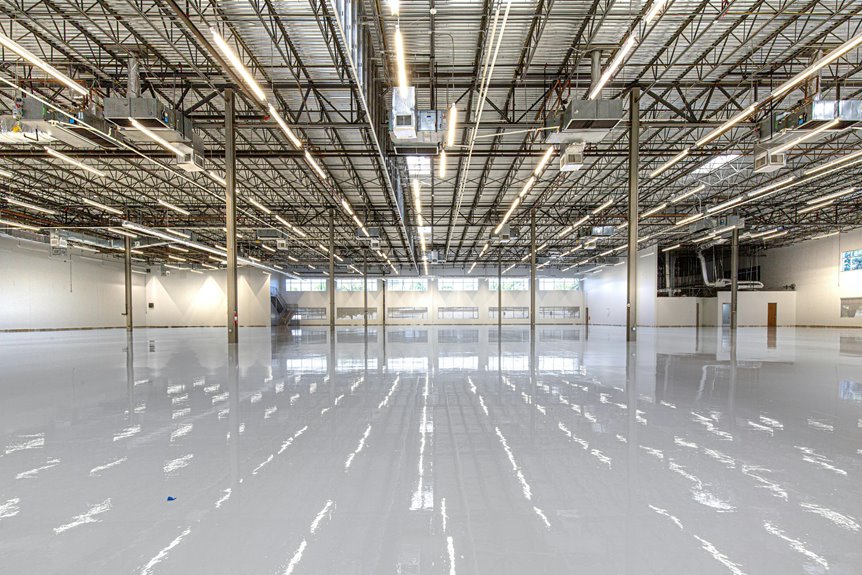
You’ll turn your basement concrete into a quality epoxy floor in seven manageable steps. Start by testing moisture and patching cracks, then thoroughly clean and degrease the surface. Next, etch the concrete to improve adhesion, apply primer, and mix your epoxy carefully. Add decorative touches if you’d like, then let everything cure properly between coats. Patience here pays off—you’ll get a durable, stain-resistant finish that lasts years. The specifics of each step reveal why timing and technique matter most.
Step 1: Test for Moisture and Repair Surface Cracks
Why does moisture matter before you even think about epoxy? Trapped moisture will ruin your entire project. You’ll place a plastic sheet barrier on your basement slab for 24–48 hours to detect vapor intrusion. This simple test shows whether your floor’s ready for coating.
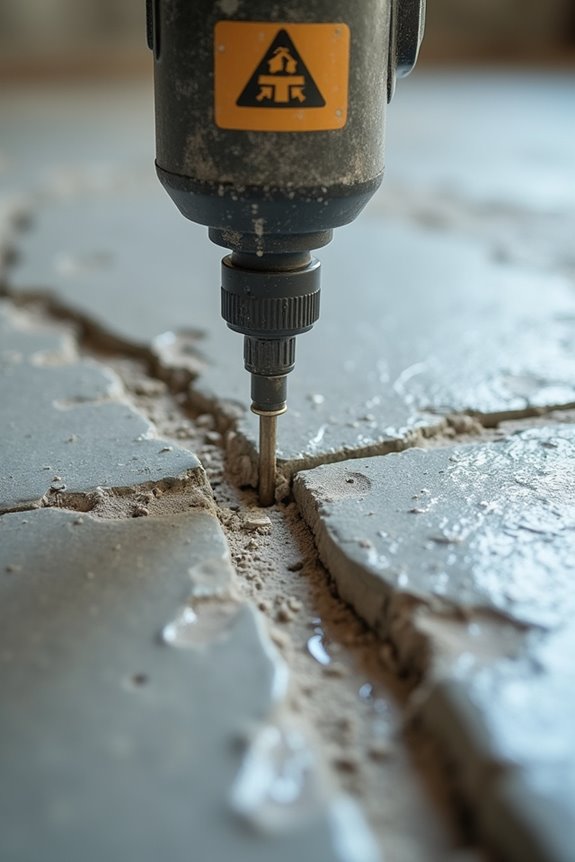
Next, inspect and document all surface cracks, chips, and spalling. Prioritize repairs to create a uniform base. Clean thoroughly—remove dirt, oil, and grease by degreasing and scrubbing. This prepares the surface for patching compound application.
Use a two-part concrete patching compound for crack repair. Follow the manufacturer’s mixing and cure instructions carefully. After repairs cure, re-test moisture levels. This confirms your basement slab is suitable for priming and coating. You’re building a solid foundation for success.
Step 2: Clean, Degrease, and Remove Existing Coatings
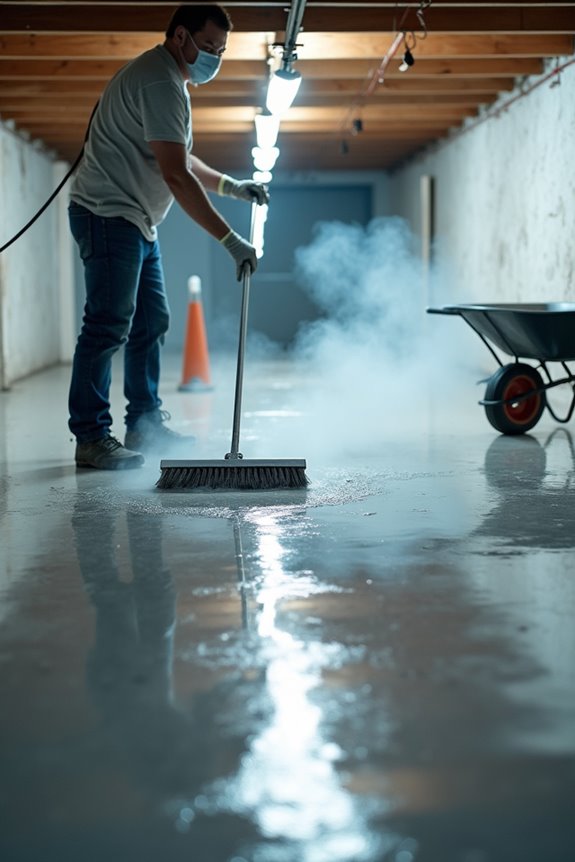
Now that your basement slab is moisture-tested and patched, you have a solid starting point—but there’s still plenty of dirt, grease, and old coatings standing between you and a professional-looking floor. Start by sweeping or vacuuming to clear loose debris. Next, apply a concrete degreaser to dissolve oil stains and contaminants, then scrub with a stiff brush. Rinse thoroughly with clean water and let everything dry completely. If your concrete floor has existing coatings like paint or varnish, you’ll need to remove them—epoxy won’t stick to them. Use a concrete grinder or mechanical removal tool if adhesion issues persist or to smooth rough areas. This cleaning step takes time, but skipping it means your new epoxy coating won’t last as long or perform as well.
Step 3: Etch or Sand the Concrete for Better Adhesion
Step 3: Etch or Sand the Concrete for Better Adhesion
Before your epoxy can stick around for the long haul, you’ve got to roughen up that concrete surface—and etching is your best friend for this job. Etching opens your concrete’s pores, creating the mechanical bonding your epoxy coating needs to stay put.
Etching roughens concrete pores, creating the mechanical bonding your epoxy coating needs to stay put for the long haul.
What you’ll do:
Apply an acid-based etchant following the manufacturer’s instructions carefully. The contact time matters—don’t skip ahead. Rinse thoroughly to remove all residue, then let everything dry completely.
Safety first: wear gloves, goggles, and a respirator. This stuff is serious, but it’s straightforward.
Once dry, re-test moisture levels. You’re checking that your surface is ready for primer and epoxy application. This concrete surface preparation step creates a solid base for adhesion success.
Step 4: Prime Bare Concrete Before Epoxy Application
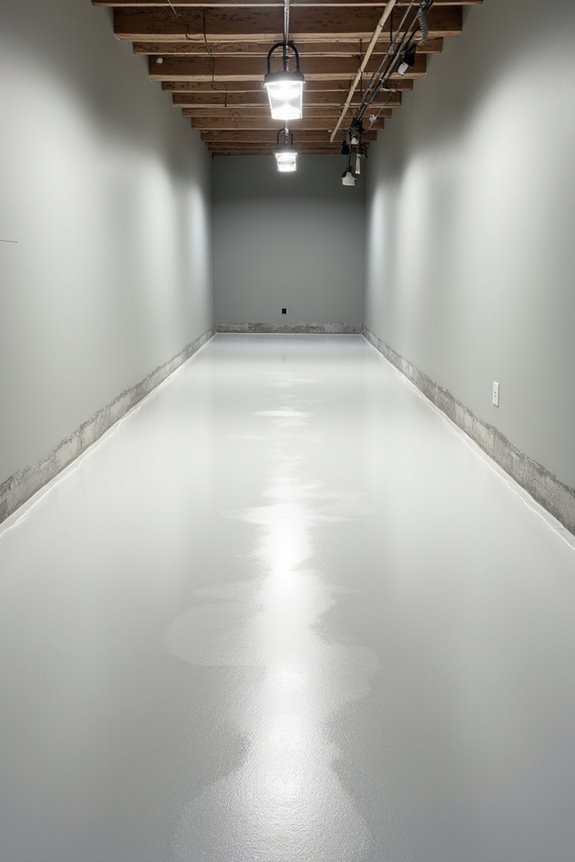
Before you roll on that epoxy, you’ll want to prime your concrete—it’s an important step between your floor and the coating that helps everything stick around for the long haul. You’ll apply a self-leveling concrete primer after your surface prep, making sure your floor is bone-dry first, then let it cure according to the manufacturer’s timeline so you don’t end up with lifting or blushing later. If you’re working in a damp basement, grab a moisture-barrier compatible primer, which fills small pores and gives you a uniform surface that’ll make your final epoxy look smooth and professional.
Why Primer Matters First
Ever wonder why some basement epoxy floors peel up like old paint while others stick around for decades? The answer is primer. You’ll want to apply primer before your epoxy topcoat because it’s your foundation’s best friend.
Here’s why primer matters:
Adhesion boost: Primer creates a sticky surface that helps epoxy grip concrete like glue on paper. Without it, you’re risking peeling and failure.
Handles concrete porosity: Your concrete’s full of tiny holes that soak up moisture. Primer fills these gaps, creating an even bonding surface for uniform curing.
Moisture barrier: It locks out water that causes blisters and outgassing problems.
Skip primer on cracked or porous concrete, and you’re asking for trouble. Let it dry completely per instructions before applying epoxy.
Application Techniques and Best Practices
Pick the Right Primer
Choose a self-leveling concrete primer designed for below-grade floors. This type fills small gaps and prevents annoying pinholes that’ll affect your final epoxy coat.
Apply It Properly
Use a roller or squeegee for even coverage. Work in sections, avoiding puddles that create thick spots. You’re aiming for uniform adhesion across your entire basement floor.
Wait It Out
Allow 2–4 hours of curing time before epoxy application. Skipping this step allows moisture to become trapped underneath, which will compromise the durability and appearance of your floor. Follow the recommended curing time for results that last.
Drying Time Before Epoxy
Your primer’s already picked and ready to go, but there’s one more thing standing between you and your desired finish: moisture.
Before you apply primer or epoxy, your concrete absolutely must be dry. Moisture trapped beneath creates pin-holes, blushing, and adhesion failure—basically ruining your hard work. Here’s your plan:
- Check humidity and temperature in your space
- Wait for dry conditions per your primer’s instructions
- Perform a plastic sheet test on your slab
- Leave the plastic down for 24 hours to detect condensation
- If moisture appears, install a vapor barrier first
Still seeing moisture after testing? Don’t rush. Postpone priming until your moisture mitigation system’s in place and your concrete passes a re-test. A properly dried surface is necessary for long-term performance and durability. You’re on the right track.
Step 5: Mix and Apply Even Epoxy Coats
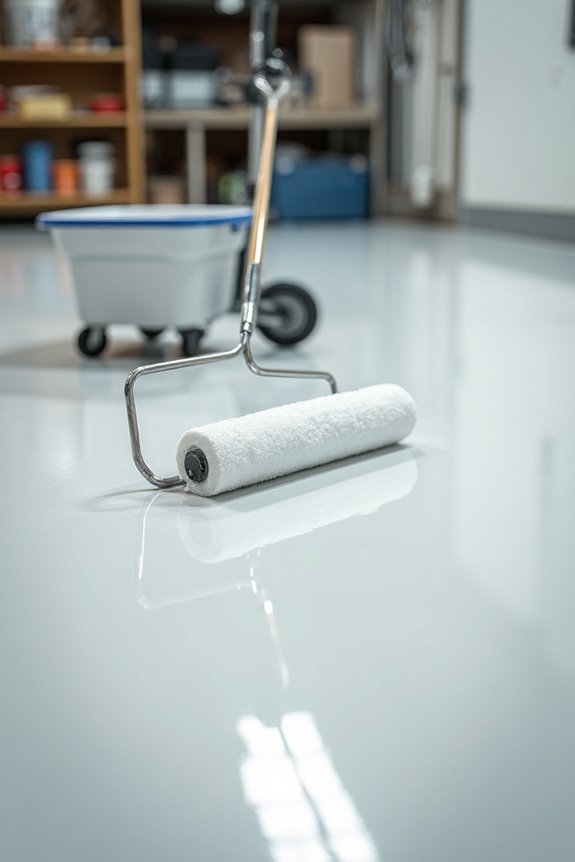
Step 5: Mix and Apply Even Epoxy Coats
Mixing epoxy requires attention to detail. Start by combining epoxy resin and hardener exactly as the manufacturer instructs, matching their precise ratios. Get it wrong, and your floor won’t cure properly. Measure carefully, mix thoroughly, and you’re ready to proceed.
Apply Your First Coat
Grab your roller application tool and start from a far corner, working toward your exit. This prevents you from stepping on fresh epoxy. Spread it thin and even across the entire surface.
Check and Repeat
After the recommended cure time (usually hours or overnight), inspect your coverage for pinholes or thin spots. Apply additional even coats as needed until you achieve uniform thickness. You’re building a durable, long-lasting floor one coat at a time.
Step 6: Optional-Add Decorative Flakes or a Topcoat
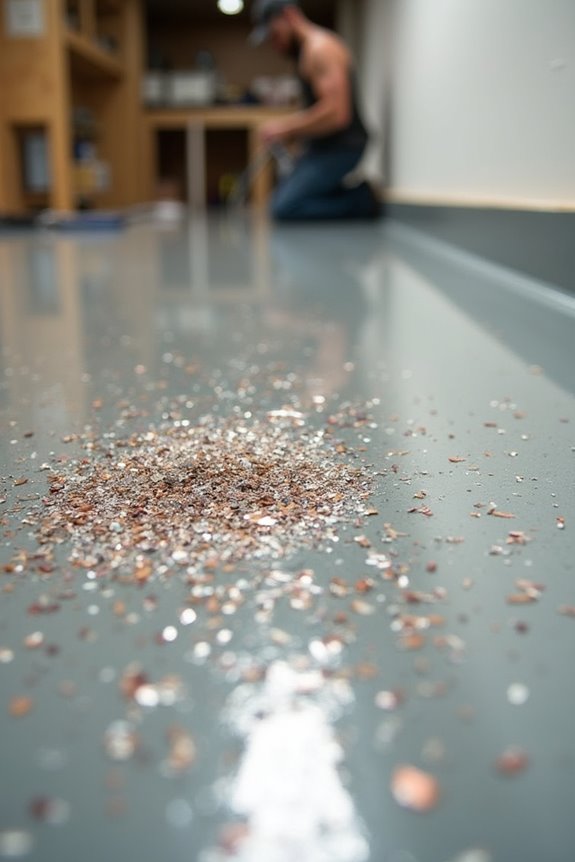
Now you’ll decide whether to add decorative color flakes for texture and visual interest, choose a topcoat finish (glossy or matte), and understand how proper curing locks everything together. If you’re going with flakes, you’ll broadcast them over the wet epoxy and press them to a uniform depth, then finish with a clear protective coat. Let your base coat cure completely first—skipping this step means poor adhesion and a floor that won’t hold up to daily wear.
Decorative Flakes Application
Adding decorative flakes gives your basement floor color and texture. You’re customizing your epoxy coating to suit your preferences.
Here’s how to apply broadcast flakes:
- Spread flakes evenly over your wet epoxy coating in a thin, uniform layer
- Use the flake mix recommended by your epoxy kit for quality results
- Avoid bald spots by distributing flakes consistently across the entire surface
- Press flakes down by lightly rolling or pressing once the epoxy begins curing
- Remove excess flakes by sweeping or vacuuming before applying your topcoat
Wait for your base coat to cure completely. Then sweep away any loose flakes for a smooth finish. You’re creating a durable floor with visual appeal that you’ll appreciate every time you use your basement.
Choosing Your Topcoat Finish
Your base coat’s looking great, and you’ve got those decorative flakes down—so what’s next? Time to pick your topcoat finish. You’ve got two main choices: gloss or matte. Gloss gives you that shiny, easy-to-clean surface, while matte hides any imperfections you might’ve missed. Want something fancy? Metallic topcoats create a reflective, dynamic look that mimics marble.
Here’s what matters: let your epoxy cure fully before applying the topcoat, and stick to the recoat window the manufacturer recommends. Skip this step, and you’ll risk peeling.
For topcoat durability, thicker coats win. Apply multiple layers, and you’ll boost both durability and chemical resistance. Your basement floor will thank you.
Curing And Final Protection
Once you’ve picked your topcoat finish, you’re almost at the finish line—but don’t rush it. The cure time is where your beautiful floor becomes durable and protected. Here’s what you need to do:
- Let your topcoat cure fully before any foot traffic walks on it
- Follow the manufacturer’s cure time exactly—usually 24-48 hours
- Keep the space dry to prevent moisture issues during curing
- Avoid placing furniture or heavy equipment on the floor too soon
- Check the final cure by lightly touching an inconspicuous spot
Patience pays off here. That waiting period hardens your epoxy from soft to rock-solid. Once fully cured, your floor resists stains, impacts, and moisture issues like a champion. You’ve completed a basement floor that’ll look sharp and perform brilliantly for years.
Step 7: Cure Between Coats and Maintain for Years to Come
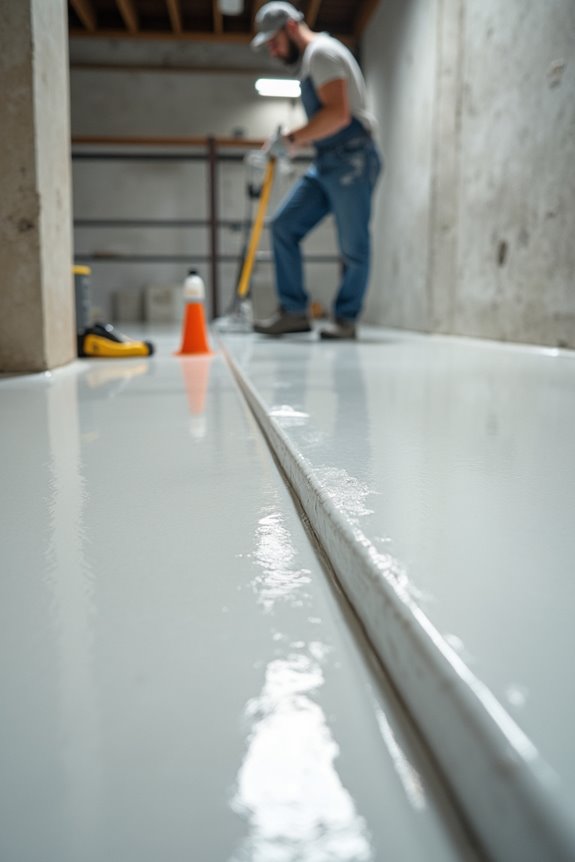
Before each new coat, inspection of defects is necessary. Look for pinholes or uneven spots and fix them right away. Store your materials properly afterward to prevent premature curing. You’re building something that’ll protect your space for years—and you’re doing it correctly.