Measure straight down from your curtain rod’s bottom to the floor using a metal tape, checking multiple spots since floors aren’t always level. Take measurements at both ends and the middle, then use the longest measurement. Subtract half an inch for proper clearance so your curtains won’t drag. Want them touching gently? You’re all set. Prefer a subtle break or dramatic puddle instead? Keep reading for how to adjust accordingly.
When to Choose Floor-Length Curtains (and When Not To)
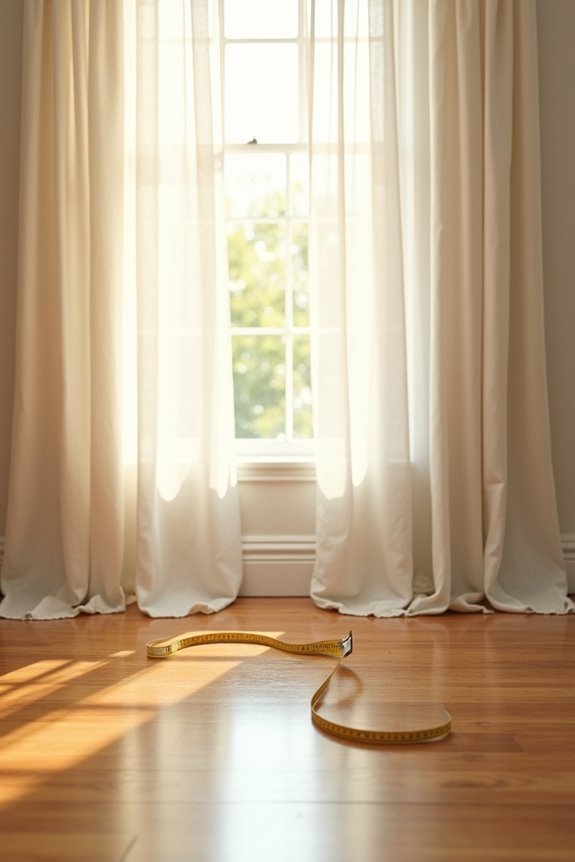
So, should your curtains actually touch the floor? It depends on your space and lifestyle.
Choose floor-length curtains if you have:
- High ceilings or tall windows that benefit from drama
- Formal rooms where a polished look matters
- Low-traffic areas away from foot traffic
- Fabrics that won’t shrink or stretch
When you measure curtains for this style, you’ll want either a break-length (just touching the floor) or a puddle effect (3–6 inches pooling).
Skip floor-length if you:
- Live in busy hallways or entryways
- Have pets or young kids
- Worry about fabric damage or frequent cleaning
- Need practical, durable window coverings
Your rod height and window height determine how well your curtain length works. Planning these measurements together keeps your floor touch looking intentional rather than accidental.
Break Length vs. Puddle Length: Measuring for the Right Look
When you’re deciding between break length and puddle length, you’re really choosing between practicality and elegance—break length grazes the floor with just 1–2 inches of fabric, while puddle length pools an extra 3–6 inches for a more luxurious appearance. Break length works well if you have uneven floors, pets, or high-traffic areas where you don’t want fabric getting stepped on or dragged around. Puddle length suits formal spaces where you can let that extra fabric pool beautifully without worrying about daily wear and tear.
Break Length Floor Contact
Why does break length work so well for most homes? You’ll find it strikes the perfect balance between elegance and practicality. When you measure from rod to floor and add just 1–2 inches, you’re creating a sophisticated look that doesn’t demand constant maintenance.
Here’s what makes break length effective:
- Hem placement stays right at floor level, kissing the surface without bunching or pooling
- Fabric sag remains minimal, keeping your curtains looking crisp and intentional
- Floor contact happens naturally without excessive dragging or wear
Since break length works on most floor types and surfaces, you’ll get a flattering appearance in any room. Just keep your floor level in mind and confirm your fabric won’t shrink unexpectedly—that’ll keep your curtain length looking good for years to come.
Puddle Length Elegance Comparison
Now that you understand how break length keeps curtains looking crisp and intentional, you might be wondering if there’s a more dramatic option.
Enter puddle length—the glamorous cousin of break length. When you measure from rod to floor and add 3–6 inches (or more), you create a luxurious dramatic pool of fabric that conveys elegance. This floor-length curtain style softens architectural lines and enhances formal spaces.
However, puddle length demands consideration. That extra floor clearance looks appealing in dining rooms and bedrooms, but it’s impractical in high-traffic areas or homes with kids and pets. Fabric gets stepped on, trapped in doors, or dragged through dust.
Your choice depends on your space’s personality. Want drama? Go puddle. Need practicality? Break length delivers sophistication without the upkeep.
Tools You’ll Need to Measure Accurately
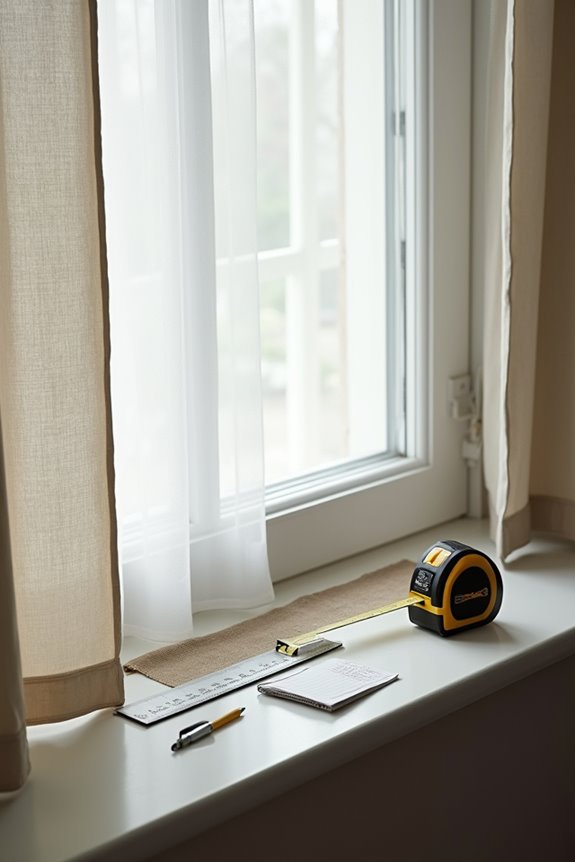
To get your curtains hanging just right, grab a metal measuring tape—the kind that won’t sag or stretch as you’re working. Selecting the right tools before you start measuring sets you up for success.
Grab a metal measuring tape—the kind that won’t sag or stretch—and set yourself up for curtain-hanging success.
Gather these essential items:
- Metal measuring tape – It’ll stay rigid and accurate, unlike fabric ones that bend and twist
- Step ladder or sturdy stool – You’ll need safe access to your curtain rod installation point
- Notepad and pencil – Jot down measurements immediately so you won’t forget the rod-to-floor distance
Use the step ladder for safe access to your curtain rod. Take your rod-to-floor measurement at multiple spots along the wall to check room consistency. Write everything down. Having accurate numbers means your floor-length curtains will have proper floor clearance.
Measure Your Curtain Rod Position First
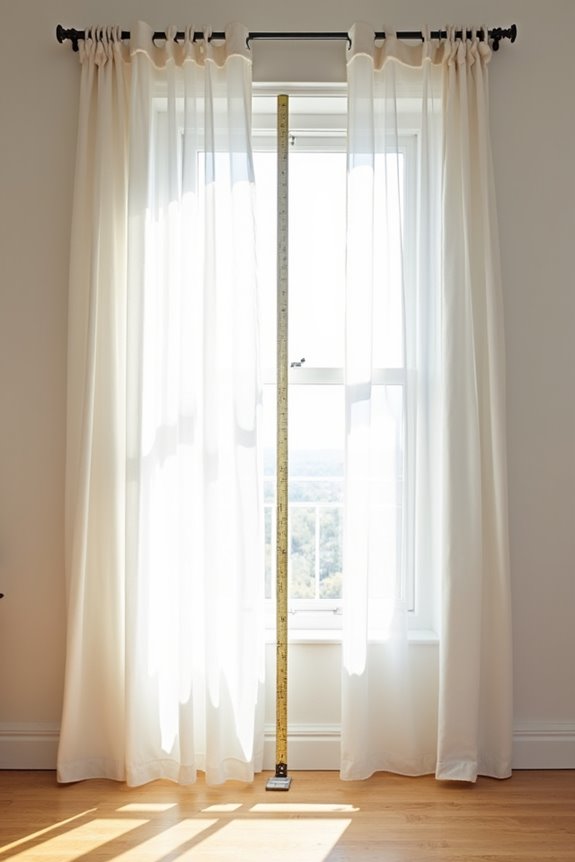
With your measuring tape and ladder ready, you’re set to tackle the most important step: figuring out exactly where your curtain rod sits.
Your curtain rod position becomes your measurement baseline for everything that follows. Start by deciding where you’ll install the rod—typically 6–8 inches beyond each side of the window frame for proper coverage. For taller ceilings, position it 8–10 inches above the frame to visually extend your space.
Once you’ve marked the rod height, measure length straight down to your floor. This distance determines your floor-touching curtains length. Subtract ½ inch from this measurement to maintain proper floor clearance and prevent dragging.
This curtain length guide approach gets you accurate dimensions every time, making the rest of your project straightforward and manageable.
Locate Your Starting Point: From Rod to Floor
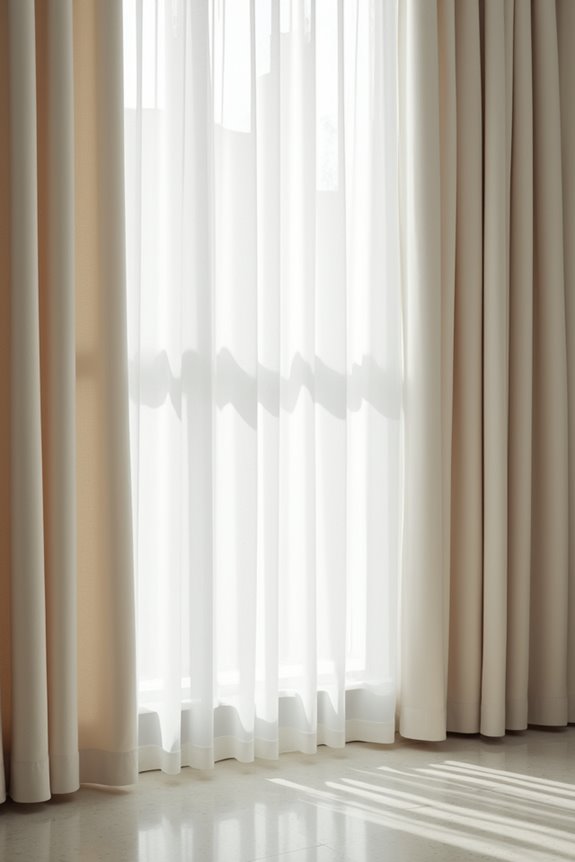
To get your measurement right, you’ll want to start at the curtain rod itself and measure straight down to the floor—it’s harder than it sounds when your floor’s not perfectly level. Grab your measuring tape and check multiple spots along the rod’s length, since floors can dip and rise in ways that’ll affect your final curtain length. Once you’ve identified your reference points from rod to floor, you’re ready to account for those uneven surfaces and figure out your exact cut length.
Measuring From Rod Height
Where exactly should you start measuring? You’ll begin at your curtain rod, then work downward to determine your perfect curtain length. This measurement becomes your foundation for achieving that floor kiss or dramatic puddle effect.
Here’s what you need to do:
- Measure from the rod’s bottom to your floor, accounting for any curtain hardware like rings or grommets that affect your starting point
- Subtract 0.5 inches for a floor-touching panel that just kisses the ground without bunching
- Add extra length if you want a break (1–2 inches) or puddle effect (3–6 inches) for visual drama
Keep your rod positioned consistently, typically 4 inches above your window frame, so each panel hangs uniformly. Accurate measurements result in professional-looking window treatments.
Identifying Floor Reference Points
- Before you grab your measuring tape, you’ll need to establish exactly where your curtain rod sits and how far down it reaches to your floor. Start by positioning your rod at its final height—this becomes your measuring starting point. From there, measure straight down to identify your floor reference point.
- Account for hardware impact by including rings, grommets, or tabs in your measurement. Don’t forget about baseboard clearance and floor type considerations, since these affect where fabric actually lands. Carpeting sits higher than hardwood, which matters for accuracy.
- Subtract 0.5 inches from your rod-to-floor measurement. This allows floor-length curtains to touch the floor without dragging. You’re establishing the precise distance needed for that polished, intentional appearance.
Accounting For Uneven Surfaces
Once you’ve nailed down your rod height and basic measurements, reality often throws you a curveball—most floors aren’t perfectly level, and that’s where things get tricky. Your measurement method matters when dealing with floor variation, so here’s how to nail your curtain length:
- Take measurements at three different points across your window’s width—left side, center, and right side
- Measure straight down from the rod to the floor at each spot, recording every distance
- Use the longest measurement as your rod-to-floor distance for floor-length curtains
This approach keeps your curtains touching the floor everywhere, even on uneven surfaces. Subtract 1/2 inch from that longest measurement for proper clearance. Accounting for these variations keeps your curtains looking professionally hung while preventing frustrating gaps.
Adjust for Different Window Styles (Bay Windows, Arches, Doors)
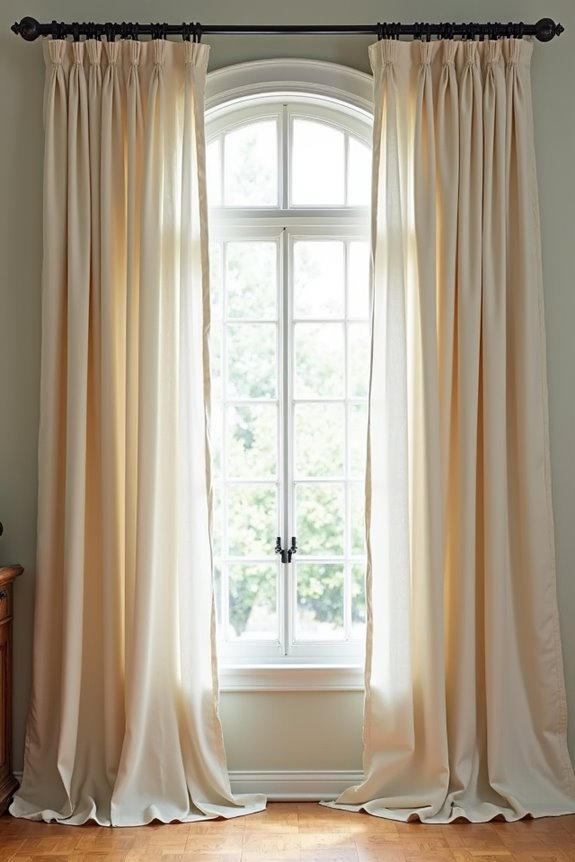
How you measure curtains changes depending on your window’s personality—and yes, bay windows, arches, and doors all have their own quirks.
Bay Windows: Measure each pane separately from the rod to the floor. You’ll decide whether to use one rod or multiple ones, but here’s the important part: keep all sections at the same uniform floor level. A longer puddle length helps balance those multiple angles.
Measure each bay window pane separately, keeping all sections at uniform floor level for balanced, elegant draping.
Arch Windows: Measure from the arch’s highest point down to the floor. This creates a consistent curtain drop that visually hugs your arch’s silhouette.
Doors: Measure from the top of your door frame to the floor. Account for any hardware or trim so nothing snags when you open and close.
Measure Floor Length: Step-by-Step
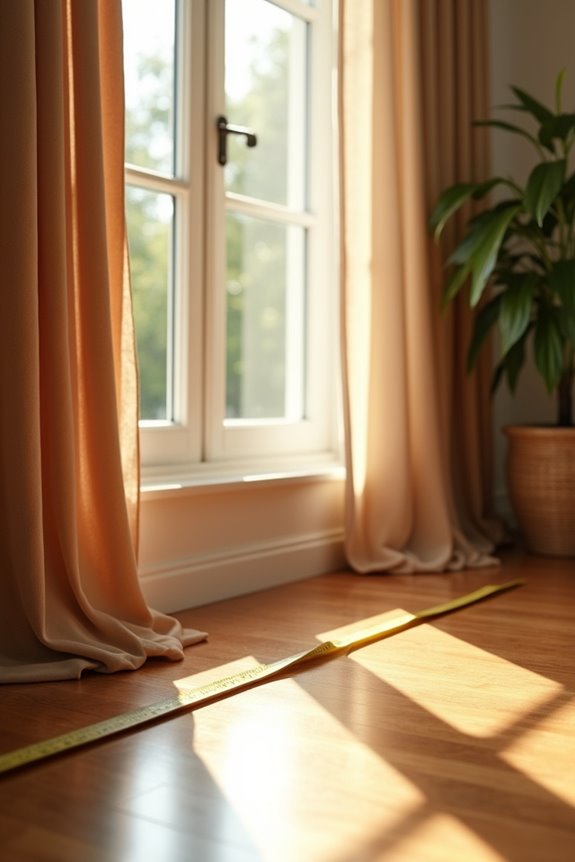
To get an accurate rod-to-floor measurement, measure straight down from the bottom of your rod or rings to the floor with a tape measure, keeping it as vertical as possible. Once you have that number, subtract 0.5 inches for floor clearance so your curtains don’t drag or catch on dust. Then adjust further if you’d like them to break slightly on the floor or puddle for a more dramatic appearance. Remember that any hardware like rings, grommets, or tabs adds height to your curtains, so include those in your final measurement to avoid any surprises when they arrive.
Accurate Rod-to-Floor Measurement
Why does measuring from your curtain rod to the floor matter so much? Getting this rod-to-floor measurement right keeps your curtains looking polished and hanging properly. You’ll want to follow these steps for accuracy:
- Position your metal tape measure from the rod’s bottom (or bottom of rings) straight down to the floor
- Measure at multiple points along the rod to catch any uneven floors or sloping surfaces
- Account for hardware included—rings, grommets, and tabs all affect your curtain drop
Once you’ve recorded these measurements, subtract 0.5 inches for proper floor clearance. This prevents your fabric from dragging or bunching awkwardly. If you’re aiming for a specific break length, add 1–2 inches to your final number. Taking time with this step means you’ll get floor-touching curtains that fit properly.
Adjusting For Floor Contact
Now that you’ve nailed down your rod-to-floor measurement, it’s time to fine-tune it based on exactly how you want your curtains to meet the floor.
You’ve got three main options. For a clean, polished look, subtract 0.5 inches from your measurement drop to create proper floor clearance. If you prefer a traditional break versus puddle style, add 1–2 inches instead—this gives you that subtle fold touching the floor without excess fabric. Want drama? Add 3–6 inches for puddling, which pools fabric on your floor.
Don’t overlook your curtain headings (rod pockets or tabs) in your overall calculation—they’re part of your measurement drop. Your curtain rod placement at 4 inches above the window frame creates proportional floor-length curtains. Choose your style, adjust accordingly, and you’re set.
How to Measure Uneven Floors for Floor-Length Curtains
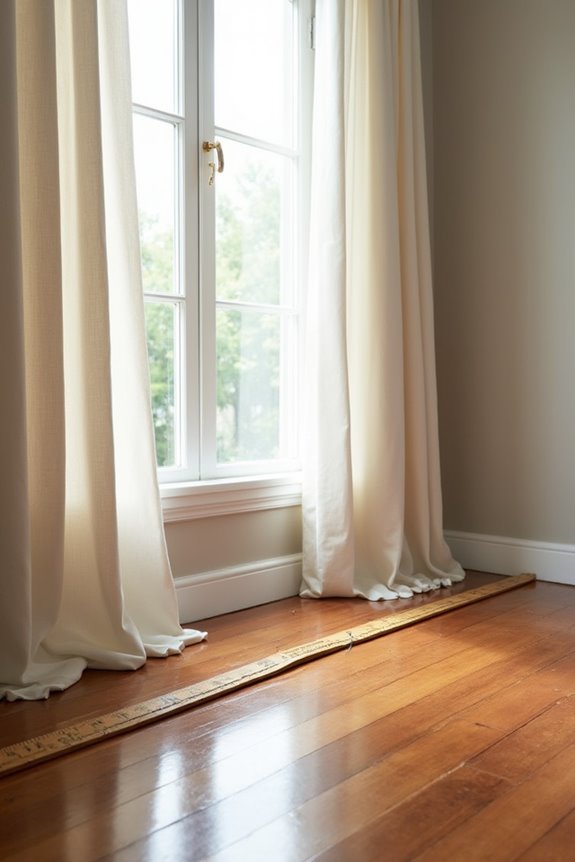
Uneven floors can be tricky when you’re going for that perfect floor-touching curtain look, but measuring at multiple points along your rod will help you avoid the awkward half-inch gap on one side.
Start by taking measurements at these key spots:
- Both ends of your rod to catch any slope or tilt
- The middle section for an accurate center reading
- Any noticeably high or low spots you’ve spotted
Average all your measurements together for a true floor-contact length. If you want to be conservative, use your longest measurement instead—subtract ½ inch and trim later if needed. This approach beats guessing, especially when carpet versus hardwood creates different heights. You’ll get a polished, floor-length look without worrying over uneven surfaces.
Fabric Type and Your Floor-Length Curtain Measurements
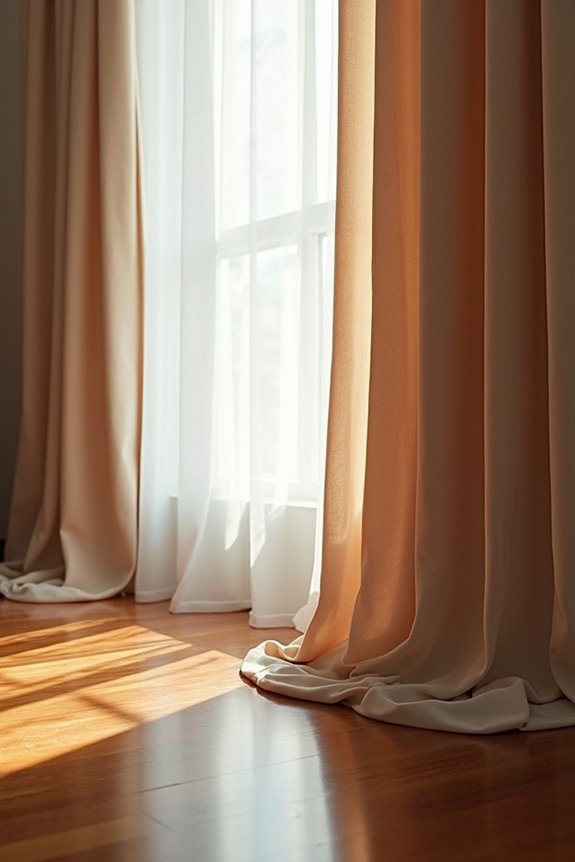
Have you realized that your fabric choice actually matters when you’re measuring for floor-length curtains? Different materials behave differently, and that’s completely normal to overlook.
Natural Fabrics Need Extra Care
If you’ve chosen linen or wool, plan ahead. These fabrics shrink, so order your curtain length slightly longer than your initial measurement. Professional hemming afterward prevents annoying gaps from appearing after the first wash.
Synthetic Materials Stay Stable
Polyester and cotton blends? They’re forgiving friends. Your standard measurement—rod to floor minus half an inch—works perfectly without shrinkage worries.
The Smart Approach
Measure your floor-to-rod distance carefully, then consider your fabric type before finalizing hem length. This straightforward step helps your floor-length curtains actually touch the floor nicely, whether you’re working with delicate natural fibers or reliable synthetics.
Avoid These Common Measurement Mistakes
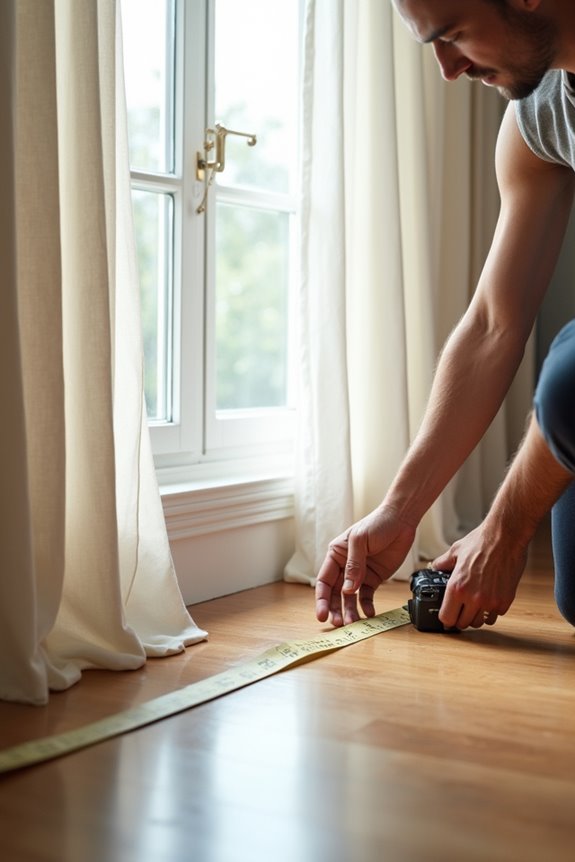
Avoid These Common Measurement Mistakes
Even with the right fabric choice in mind, you can still run into problems if you’re not careful during the actual measuring process. Common curtain length mistakes happen to everyone, so you’re not alone. Here’s what to watch out for:
- Forgetting floor clearance: Measure from rod to floor, then subtract ½ inch. Skipping this step leaves your curtains awkwardly hovering.
- Ignoring hardware in your measurements: Don’t forget to include rings, grommets, or tabs when calculating length. They add real inches to your final drop.
- Overlooking rod height and track placement: Your rod height and whether you use track vs rod affects everything. Account for these before measuring.
Consider your floor type too. Most spaces benefit from a slight hover length rather than touching directly.
Communicating Your Measurements to a Tailor or Vendor
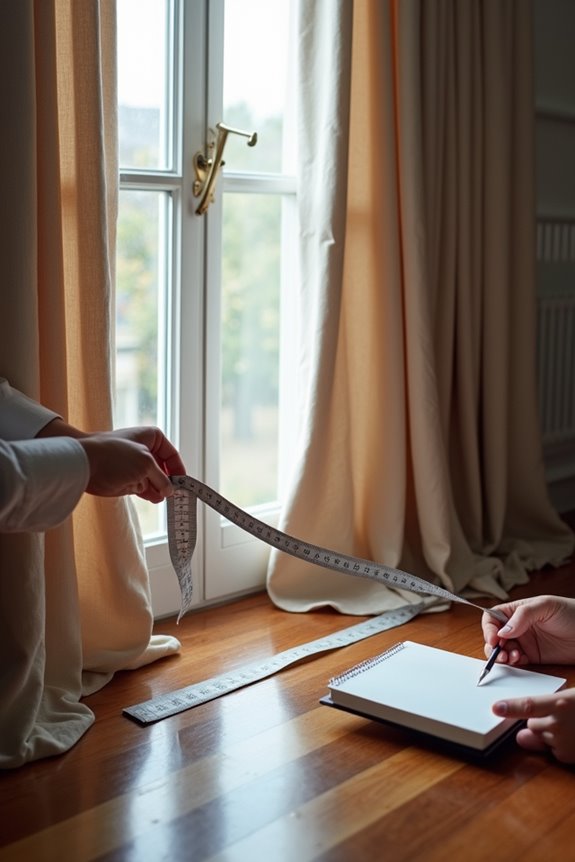
Once you’ve got your measurements locked in, how do you actually tell a tailor or vendor what you want?
Be super specific. Don’t just say “floor-length”—give exact numbers. Tell them your rod-to-floor measurement and whether you want a break-length (1–2 inches above), float-length (½–1 inch clearance), or puddle-length (3–6 inches pooling).
Give your tailor exact rod-to-floor measurements and specify your preferred length: break, float, or puddle.
Mention your hanging system too. If you’re using rings, grommets, or tabs, clarify whether they’re included in your measurement from rod to fabric edge.
Share room details that matter: furniture placement, baseboard height, or carpet type. These affect how your curtains actually settle.
Write everything down or email it. Visual communication prevents mix-ups and gives both of you a reference point. You’re not being picky—you’re being prepared.